Clay
Ceramics begin their journey as raw clay dug from the earth. It’s often processed before it can be used on the potter’s wheel. Firstly, clay is converted into a liquid state (slip) by the addition of water. This allows it to be sieved – a method of removing impurities from the raw dug clay such as sticks, rocks and other debris.
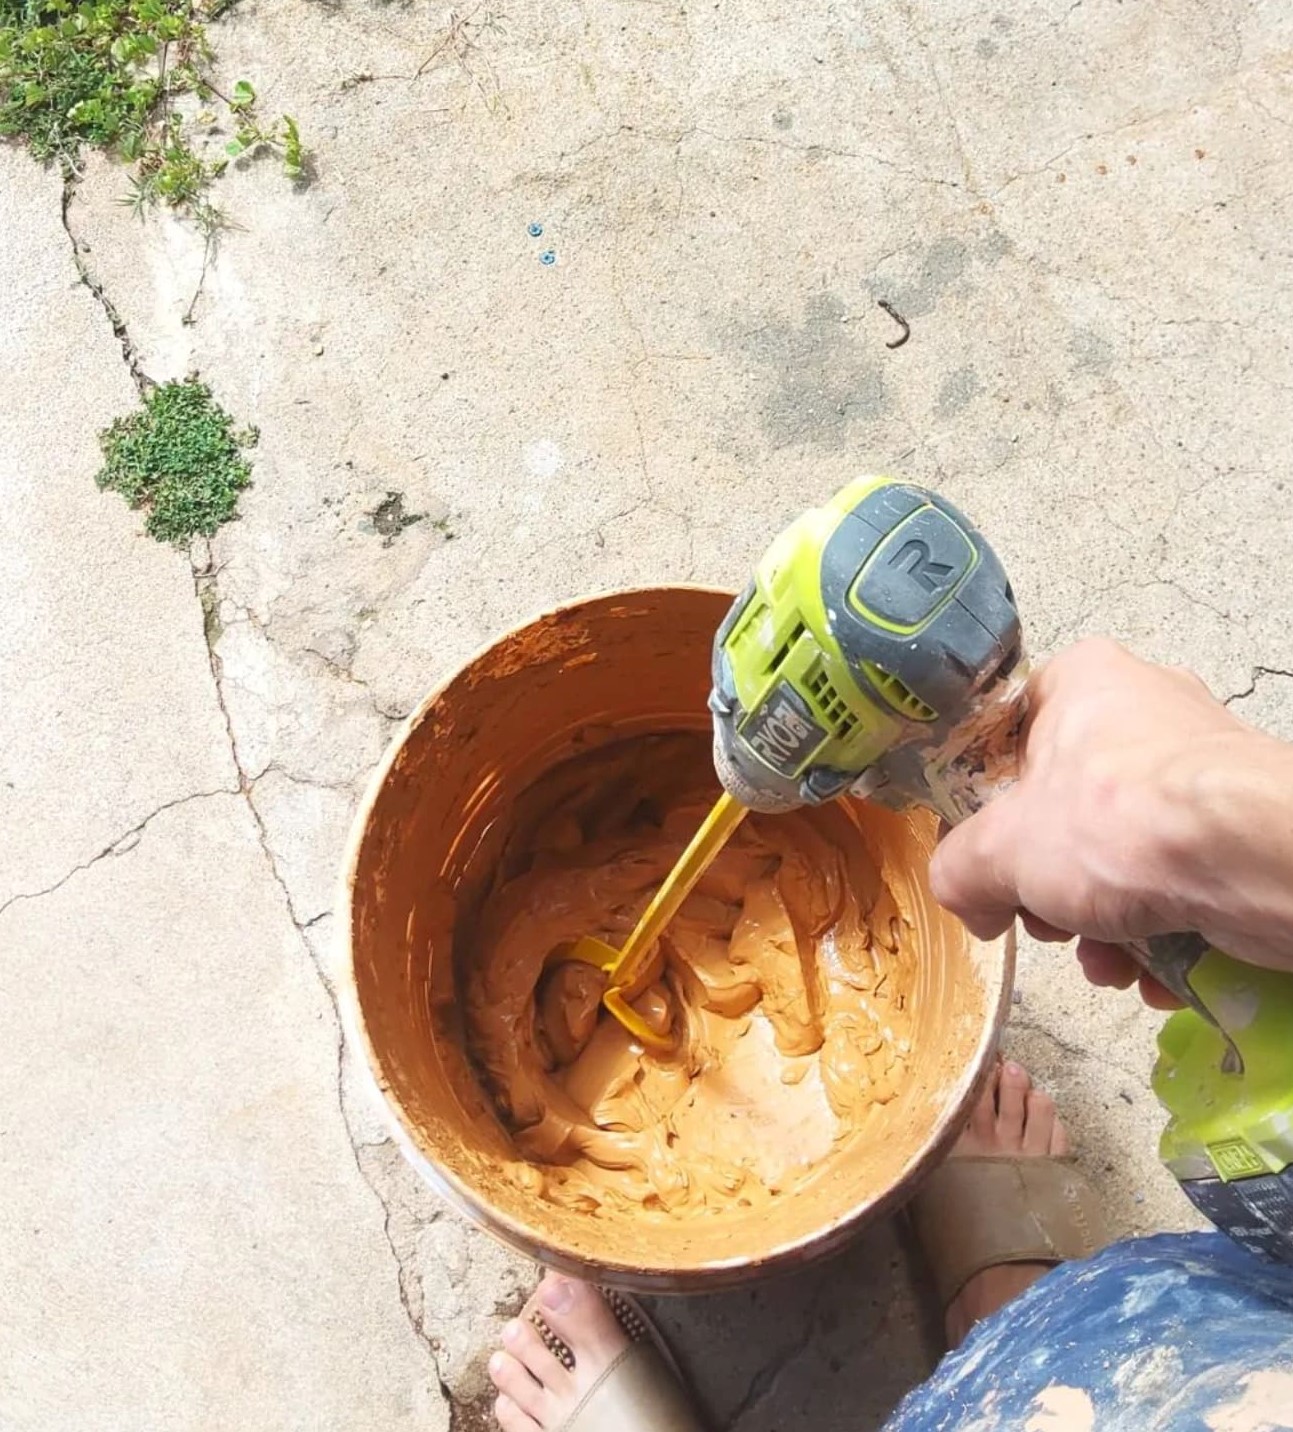
Clay can be sieved several times then homogenised by the use of an electric mixer. The clay is left to dry with the help of a filter press or in basins until enough water has evaporated for the clay to have sufficient strength to be handled without breaking. The thin sheets of clay are rolled up and stored in a dark area and covered with wet towels and plastic to mature.
Lastly, the clay is either loaded into a pug mill and/or wedged by hand. This removes air bubbles and brings the clay to an ideal state for throwing.
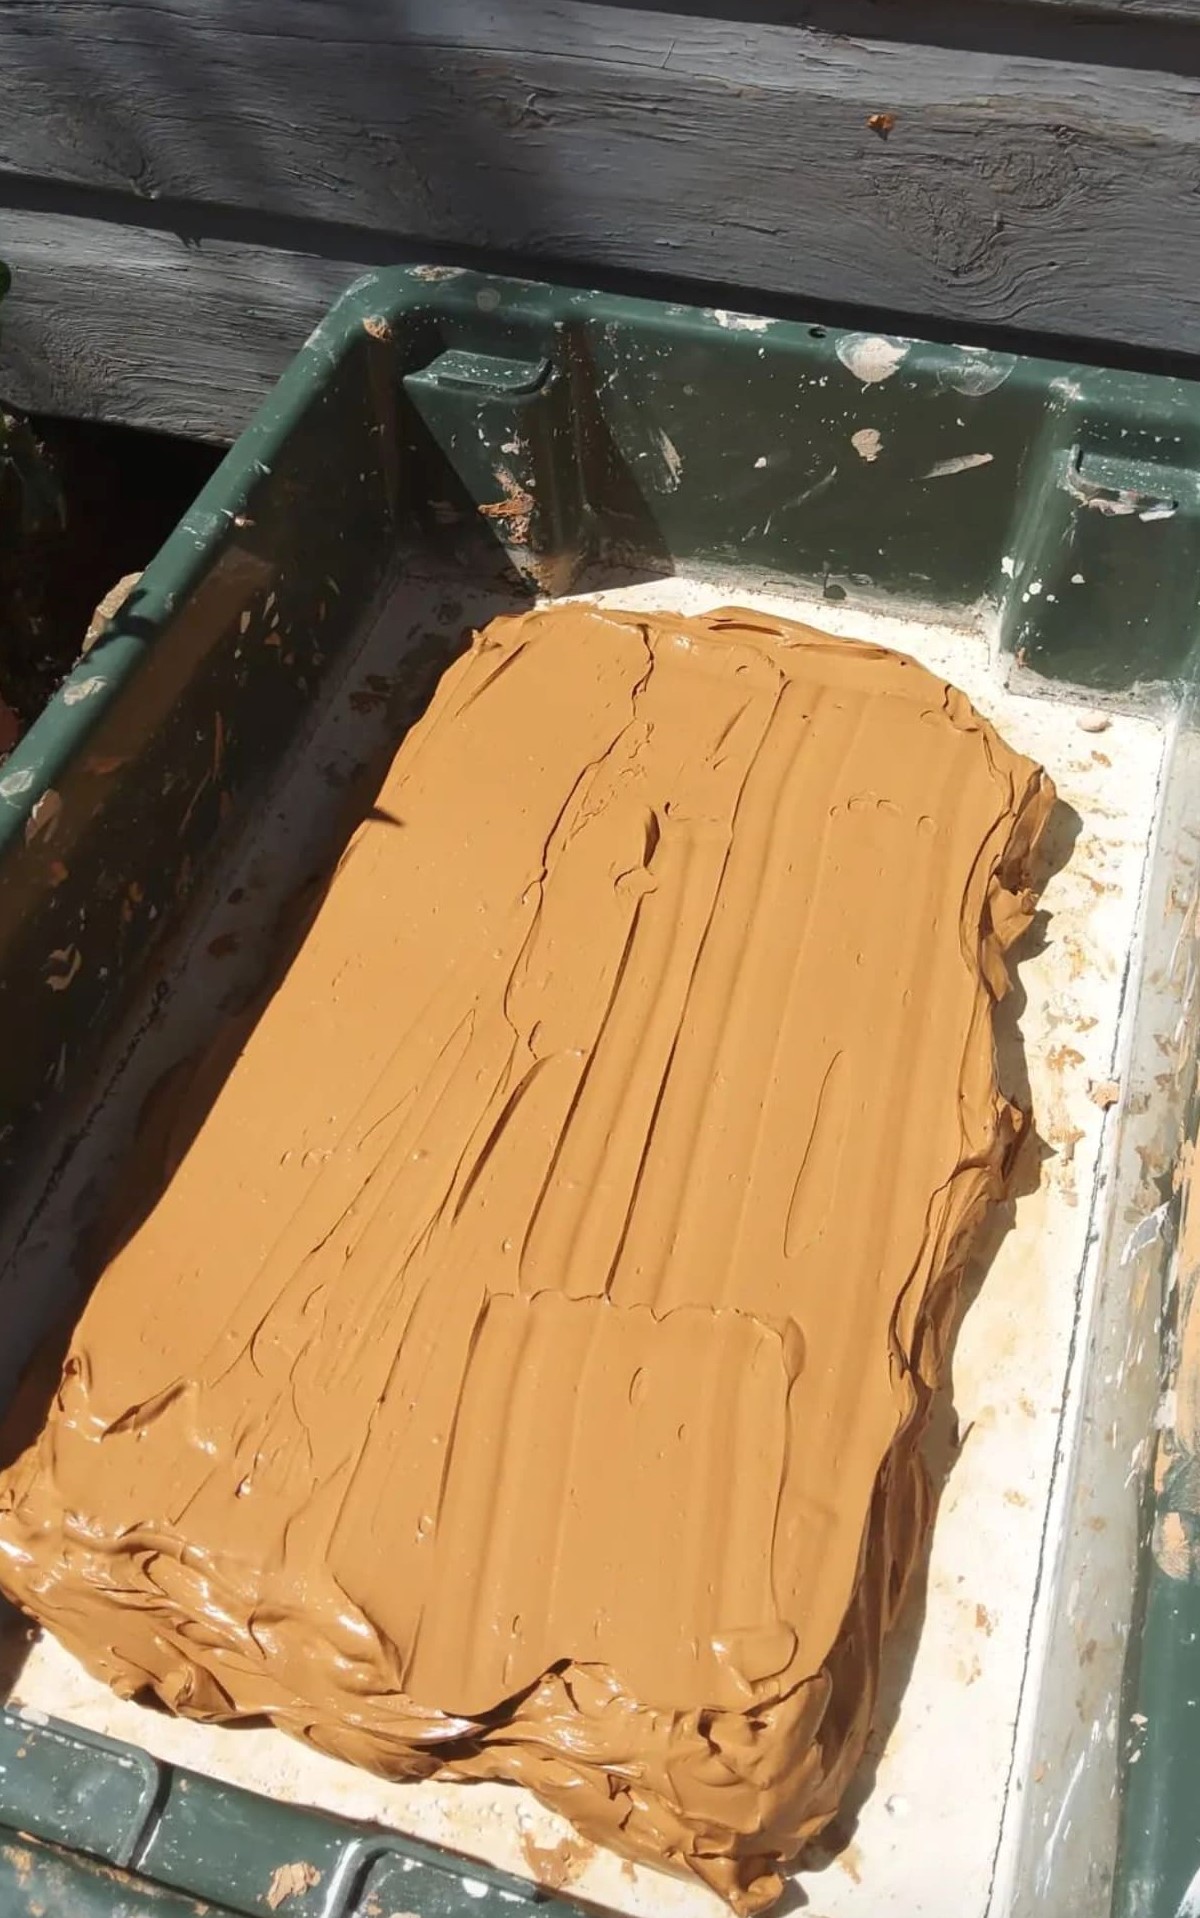
Reclaiming clay process
Throwing
The art of throwing involves many hours of practice dedicated to mastering four basic steps: centering, opening, lifting and shaping the clay. When the clay is soft, it’s easier to centre and open but more sensitive to lifting and shaping. The opposite is true when the clay is harder.
Different shapes have different requirements in the throwing phase in order to become good, functional pieces. For example, a vase maybe more durable with a thicker bottom which may reduce the chance of accidental breakage. Conversely, a water jug would benefit from being lighter all around so as to not be too heavy when full of liquid.
My dinnerware is often thrown with lumps of clay weighing between 200g – 3kg and my planters are made with clay weighing between 450g – 3kg.
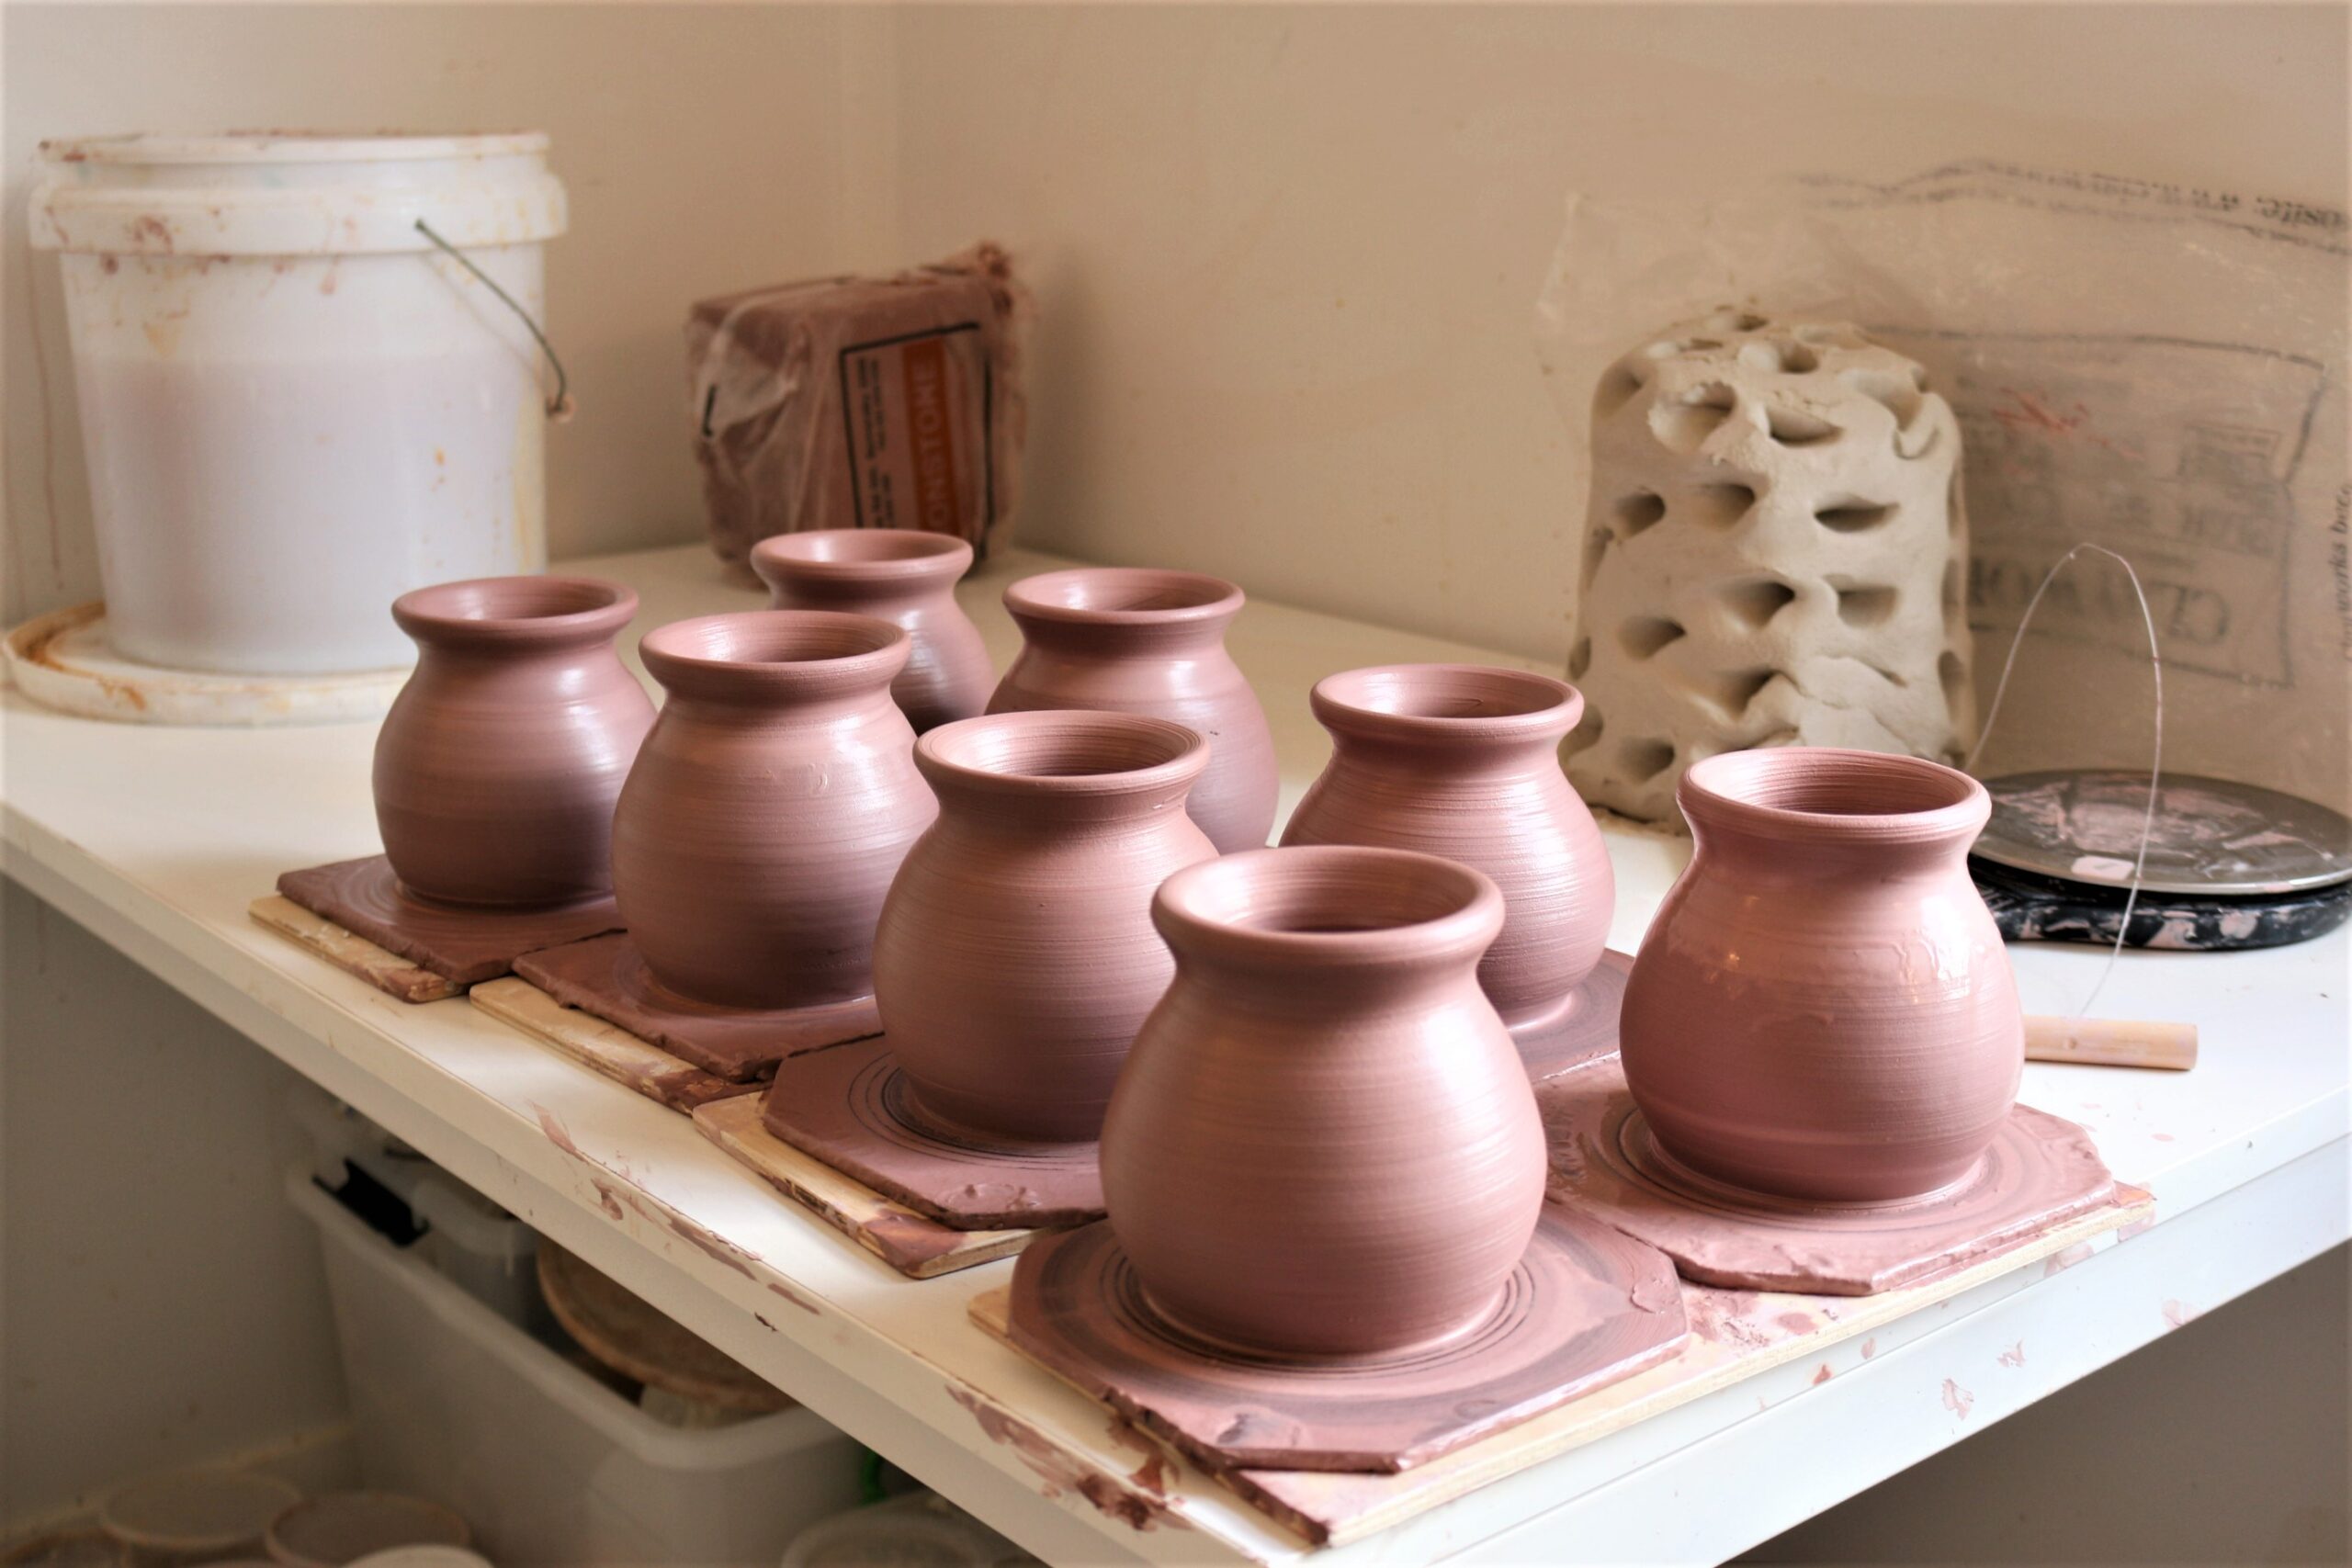
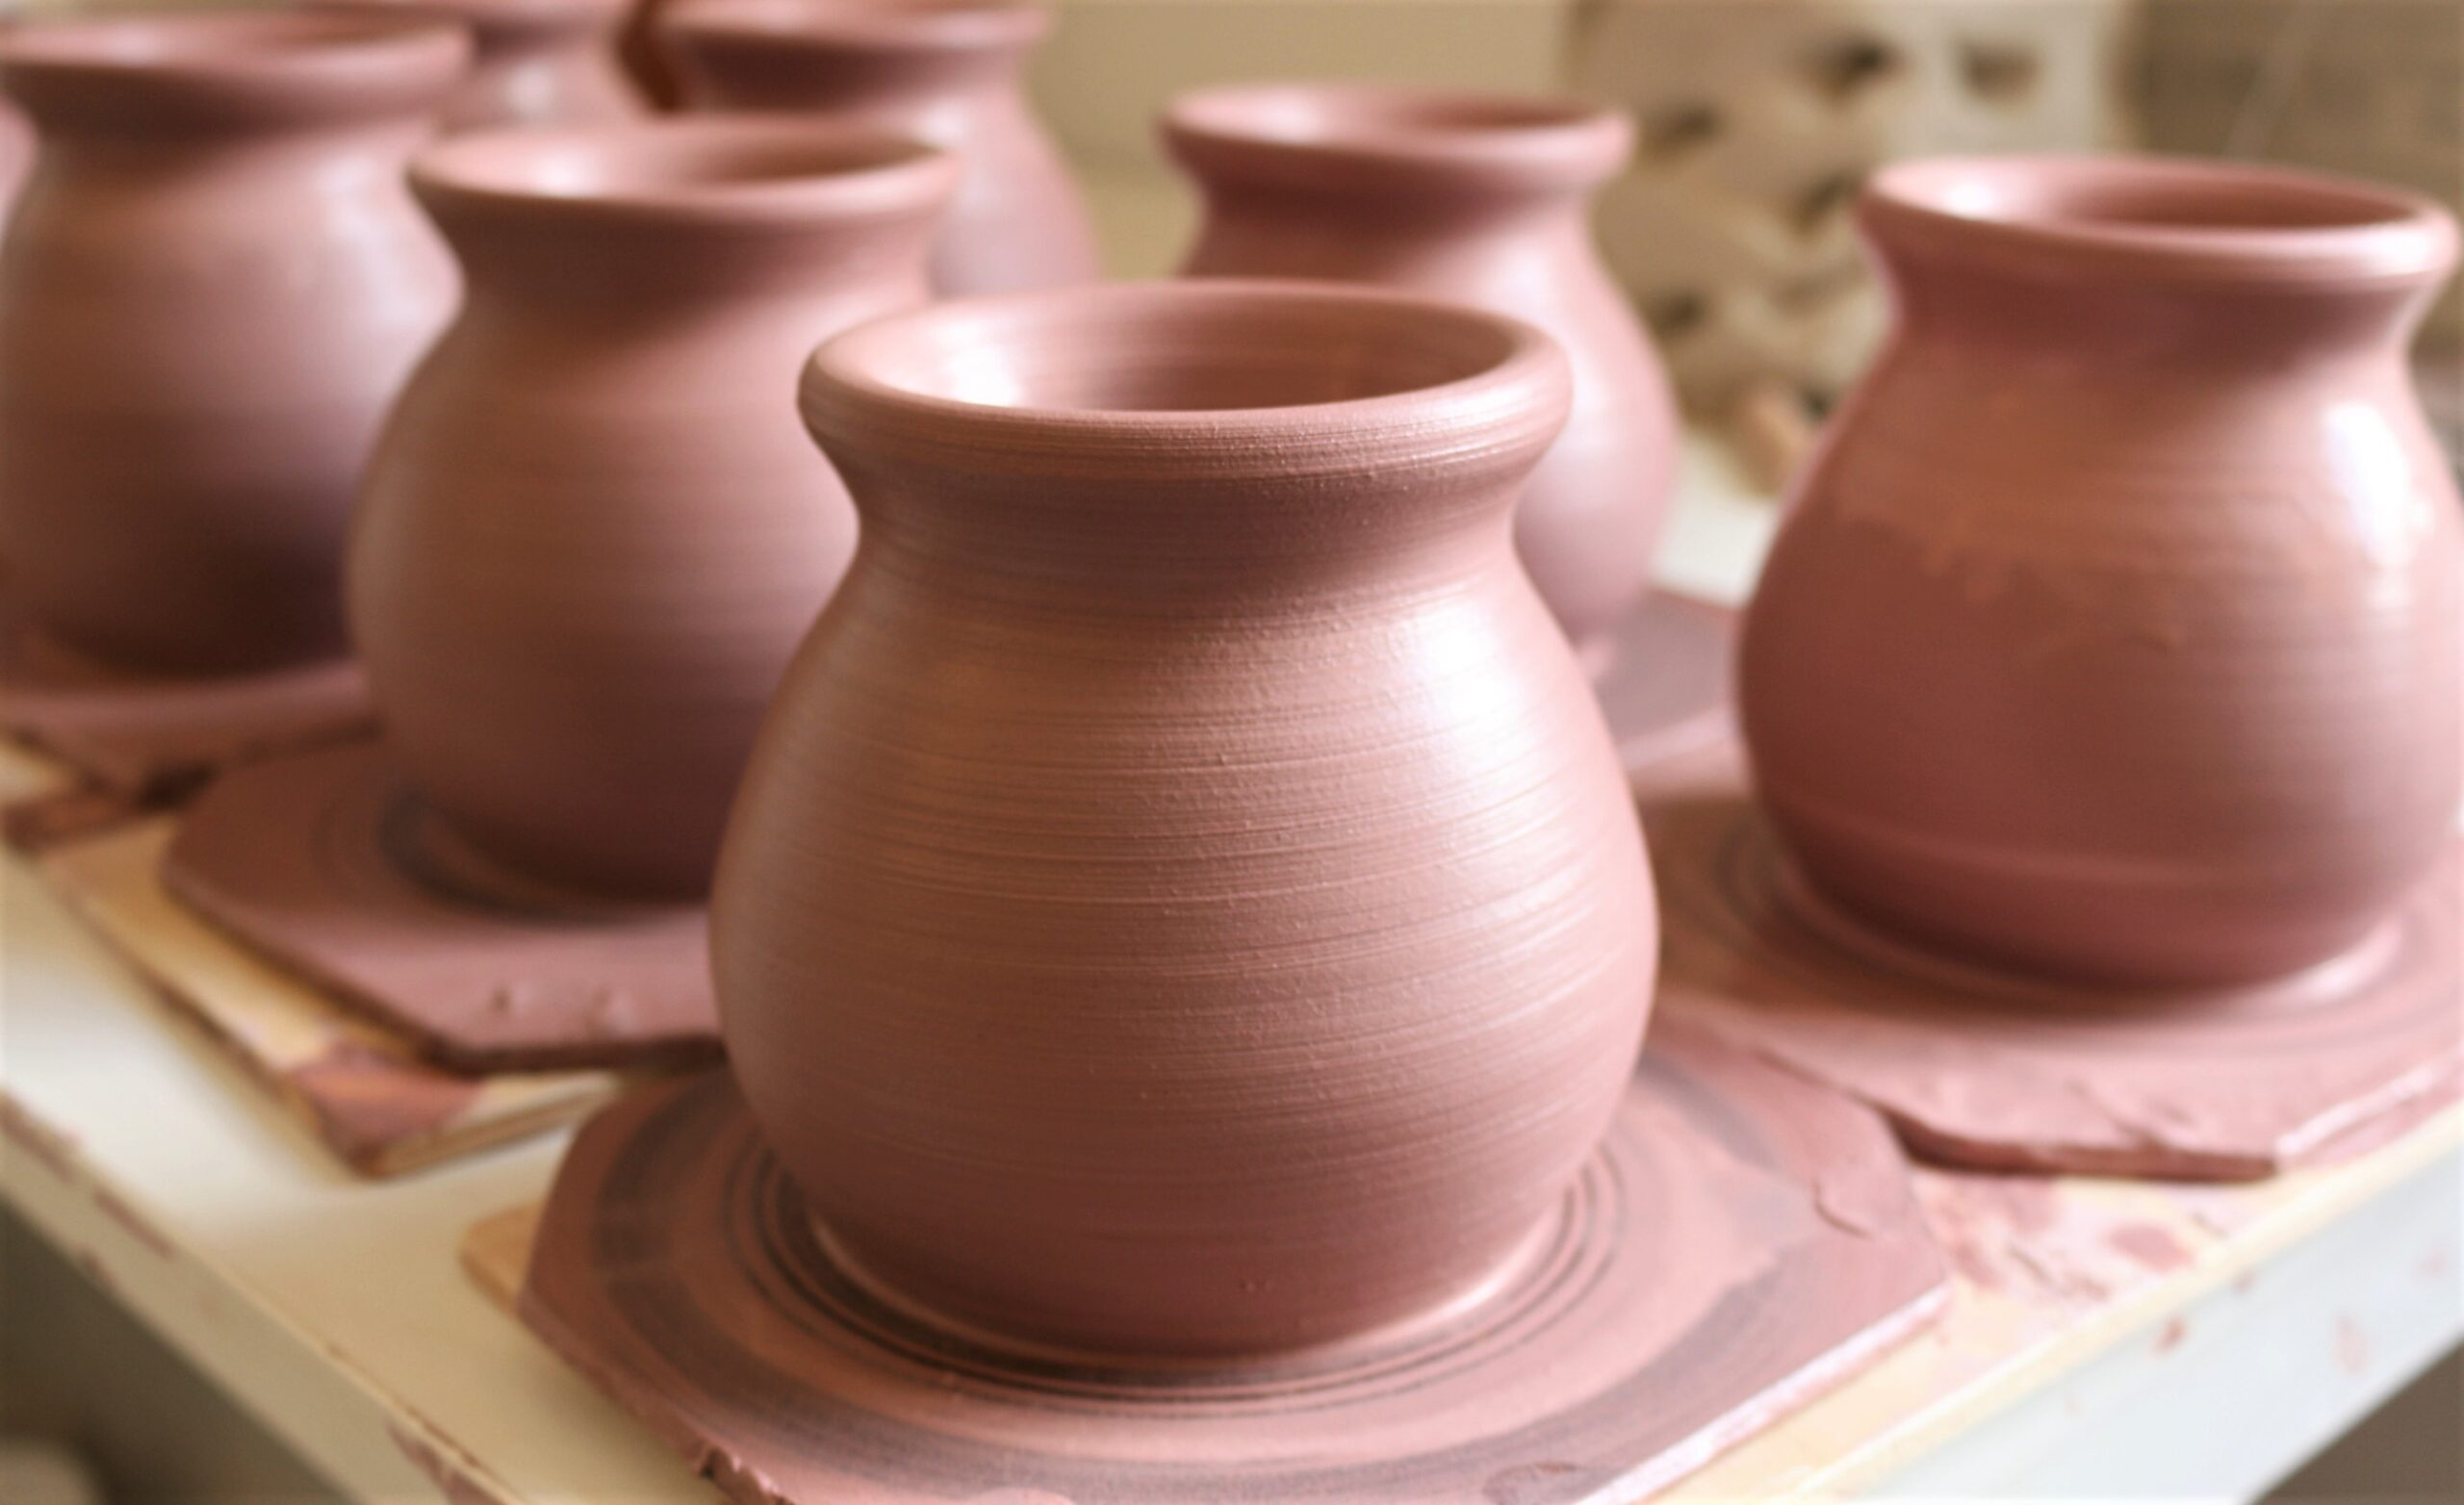
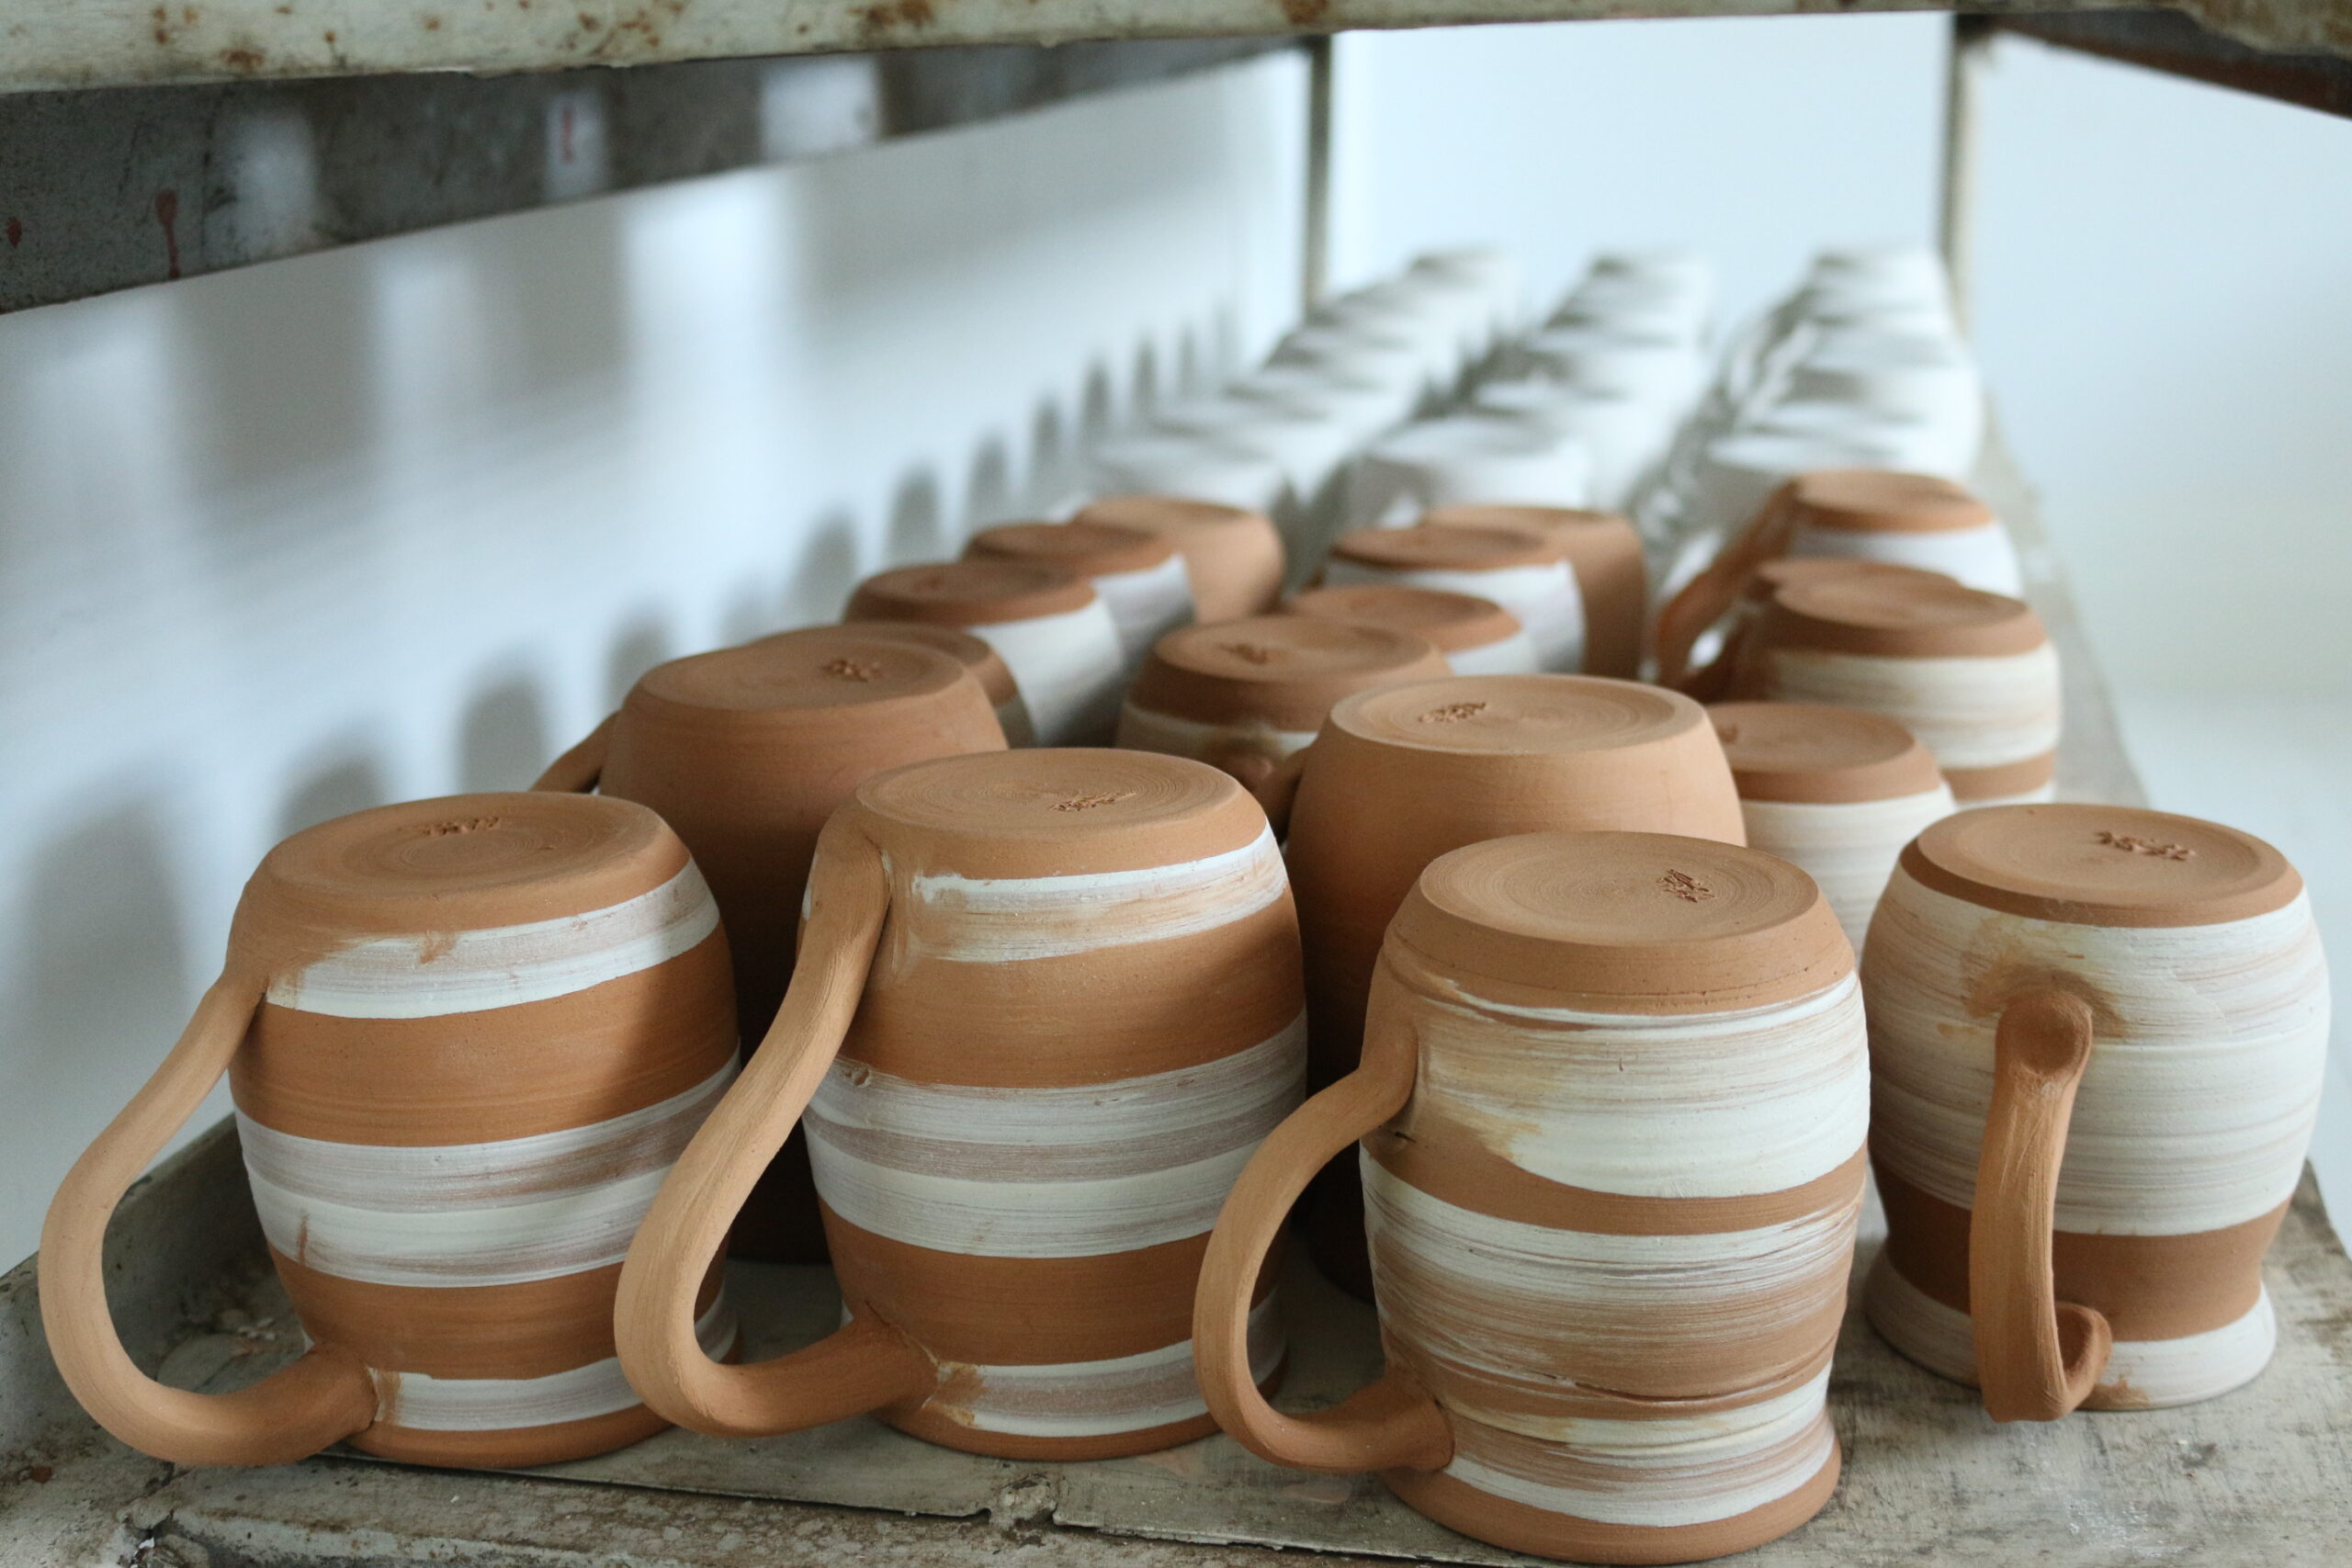
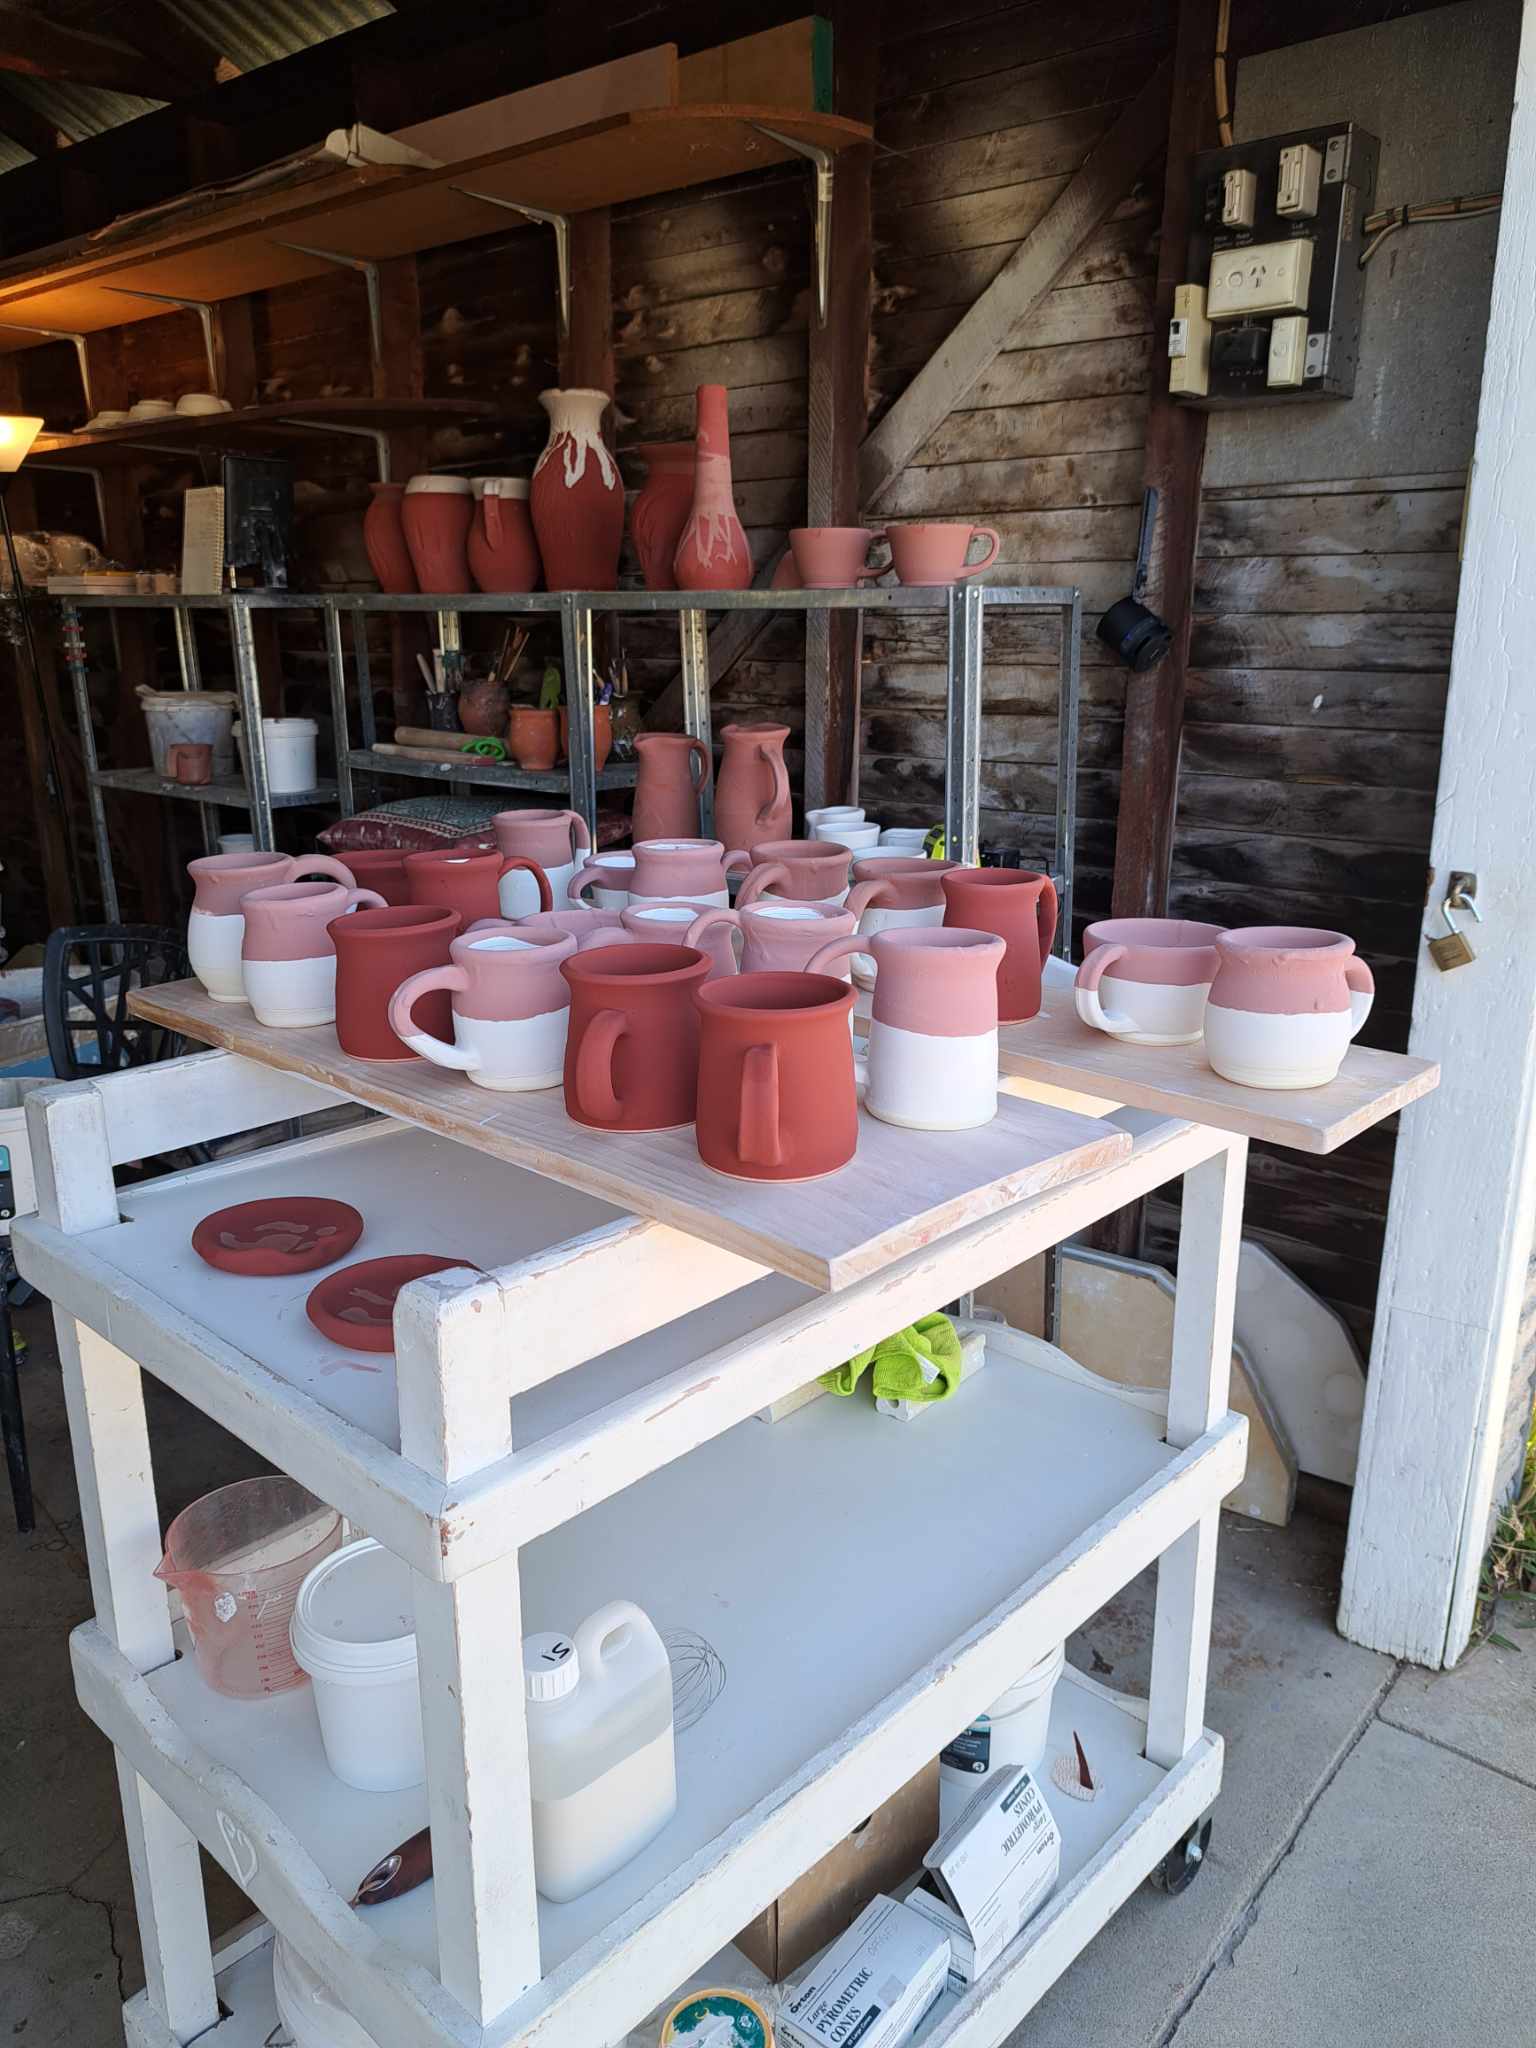
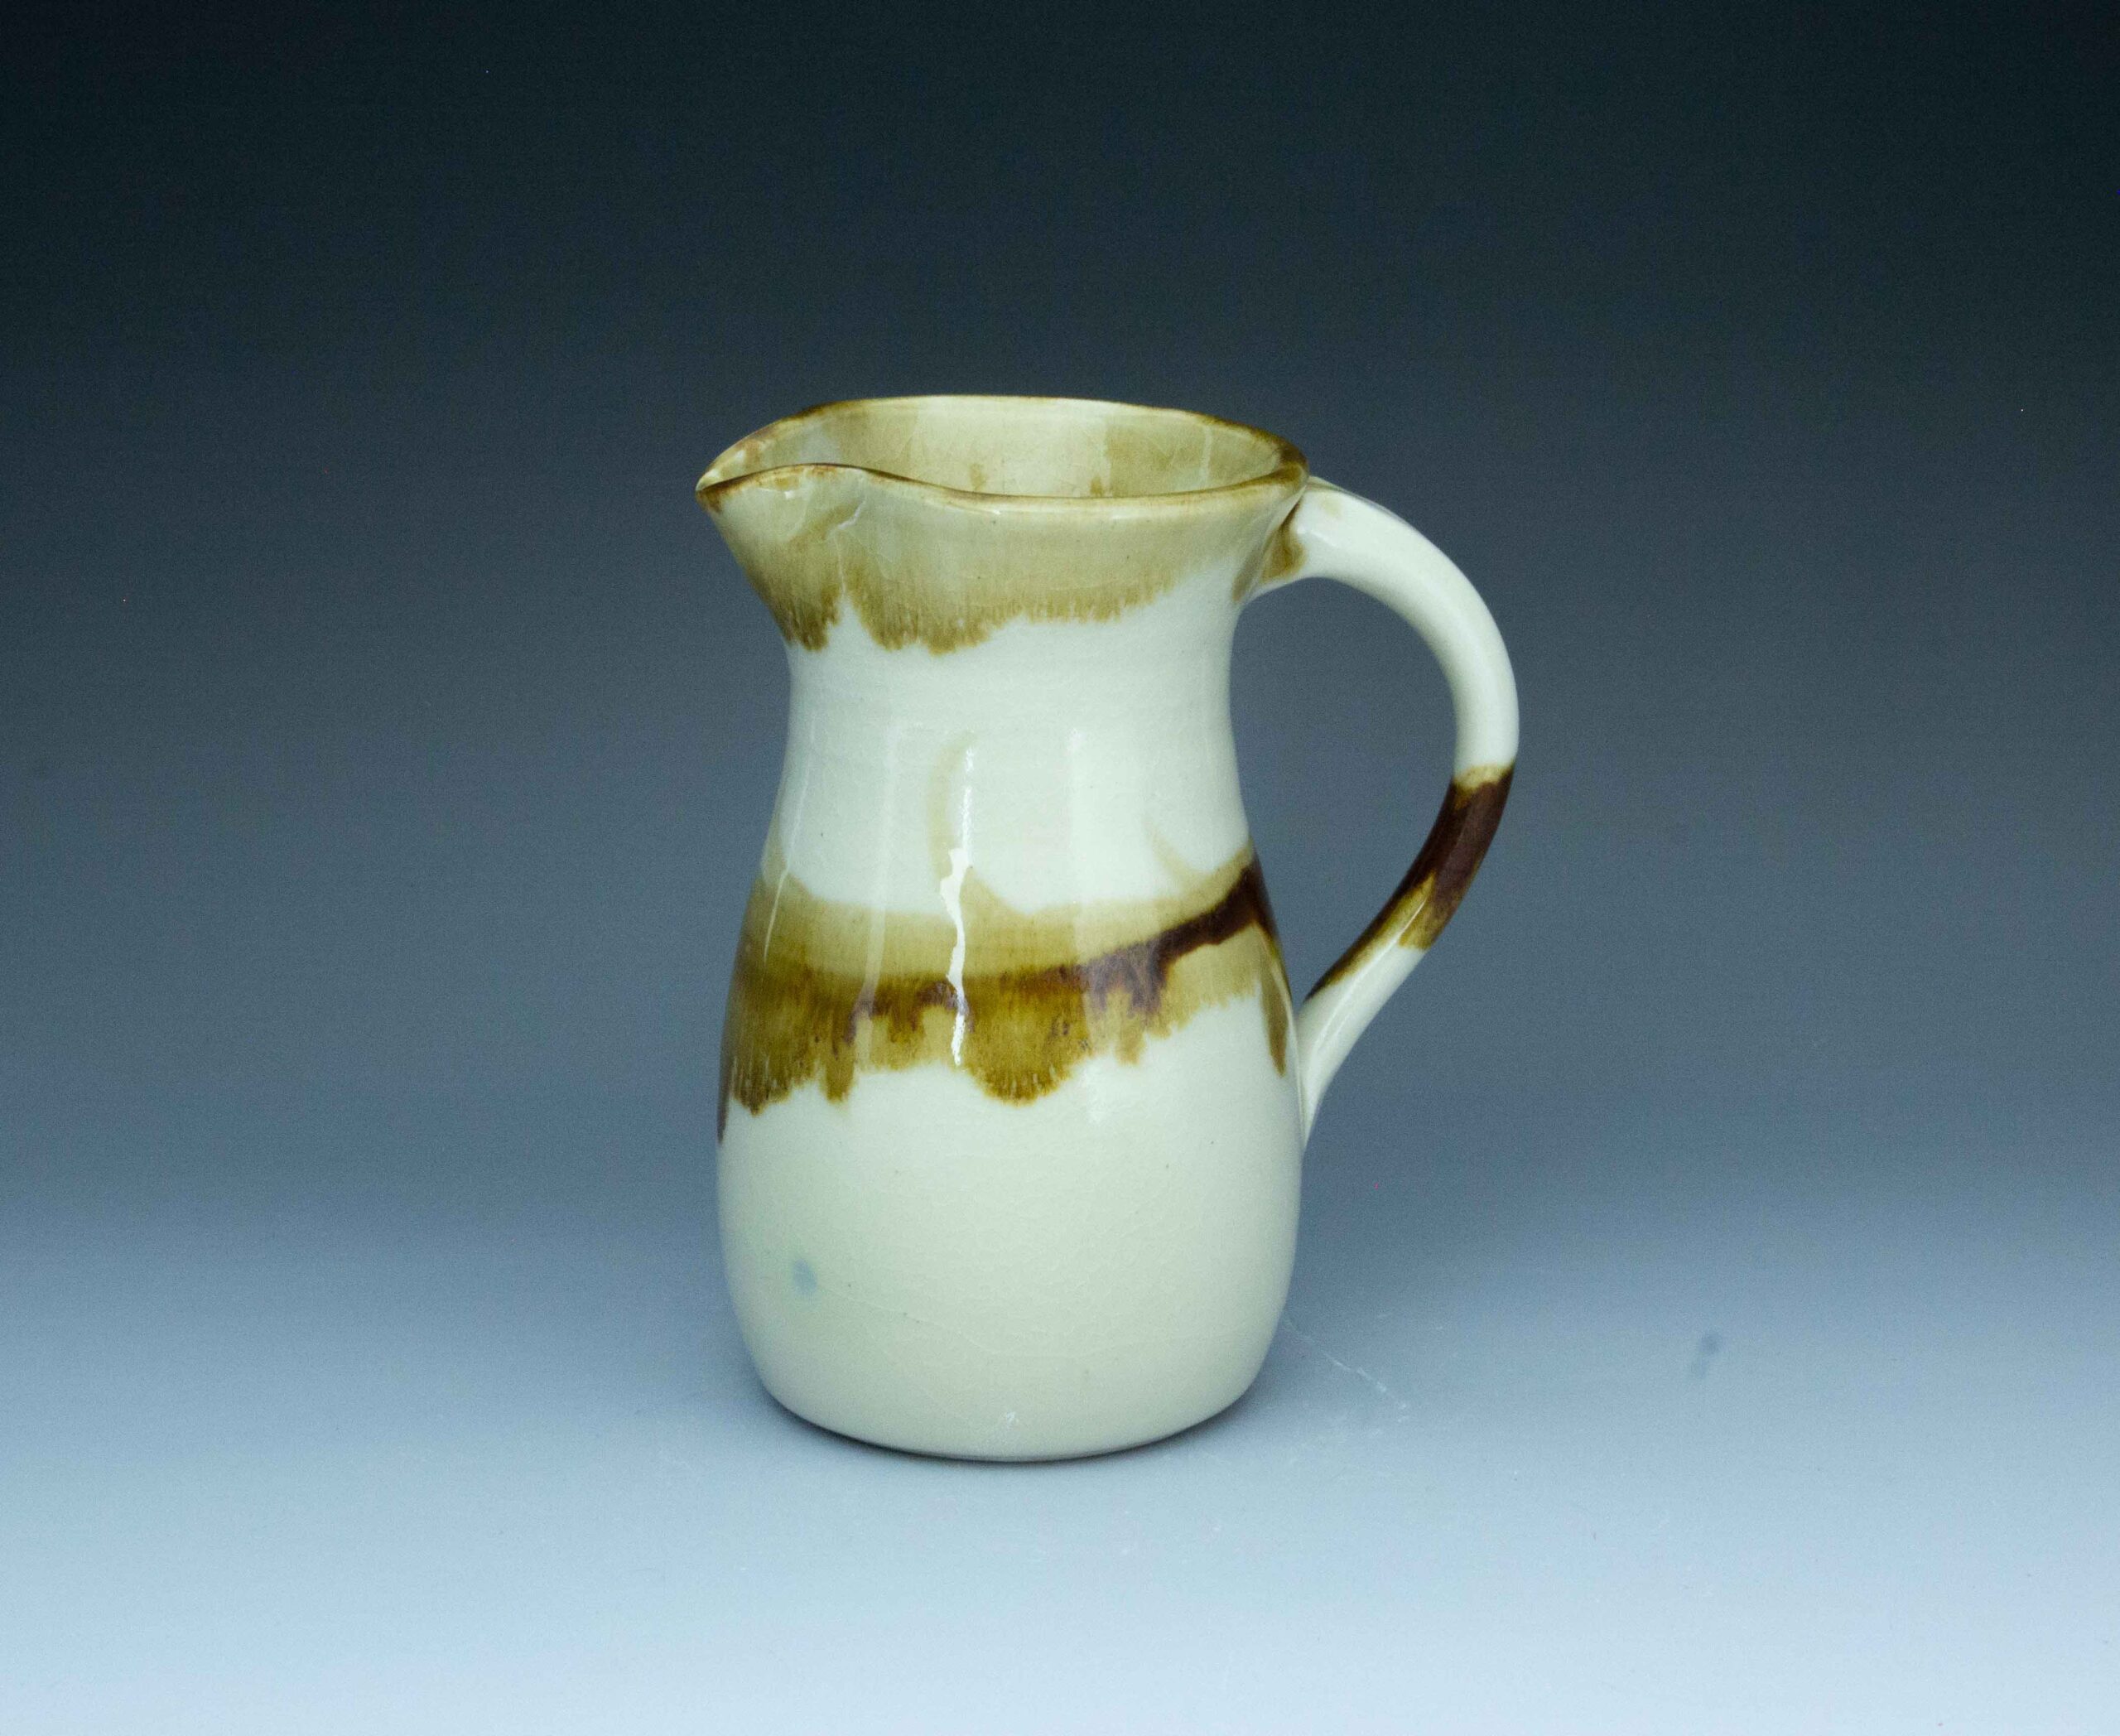
Freshly thrown tableware awaiting trimming and handles
Drying
After the piece/s have been thrown, they need slow, even drying. Covering with plastic always helps in hot, dry weather. Between 1 – 2 days later, the piece will reach a drying stage referred to as ‘leather hard’. It is a stage where the work is dry enough for it to receive a cleanly trimmed foot, a carved design, slip decoration and/or appendages attached (amongst many more options).
The piece is again set aside to achieve a ‘bone dry’ state which can take several days to a week for smaller pieces. Bone dry clay is generally not cool to the touch as is leather hard clay. This form of clay still carries in it chemical water which is not burned off in the kiln until between 220 – 600 degress celsius.
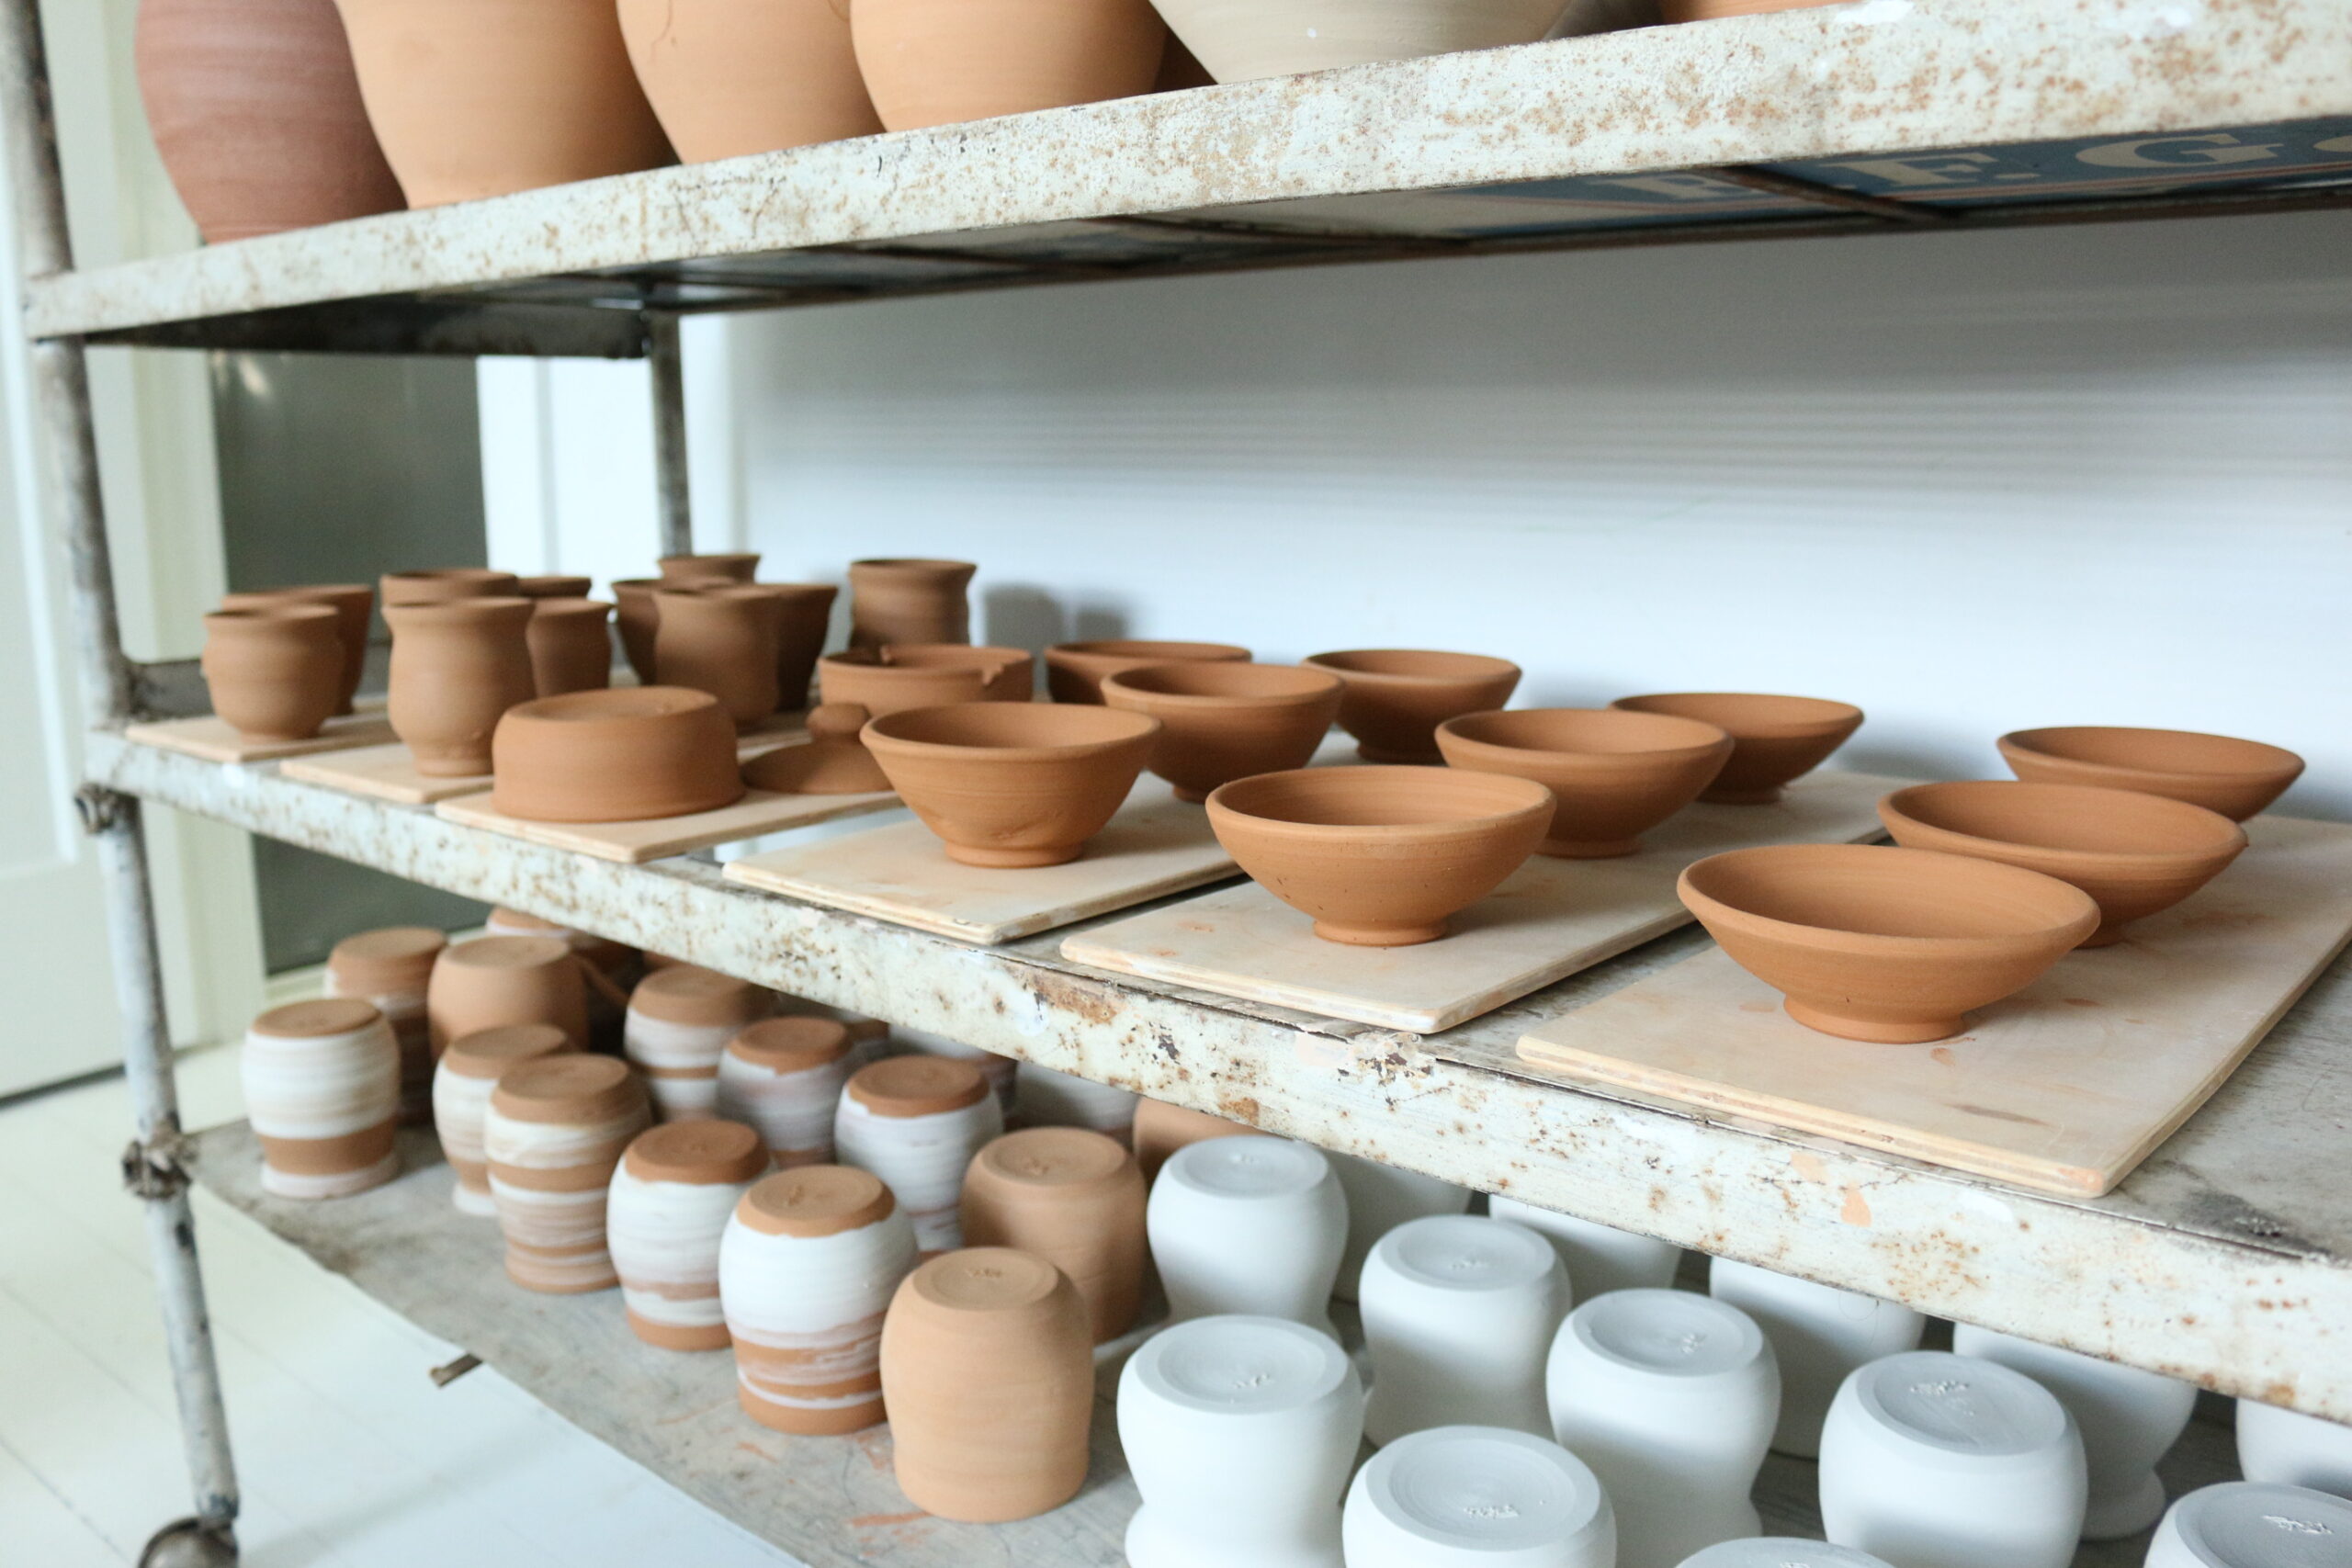
Bone dry mugs and bowls awaiting the first firing
Firing and Finishing
The pots are loaded into the kiln and ready to fire. The ‘biscuit’ or first firing usually takes 10+ hours to achieve a temperature between 944 and 1060 degrees celsius (cone 08 – cone 04) which allows the clay to go through several chemical changes which permanently transforms it from clay into ceramic material. The pieces which come out of the kiln are referred to as bisqueware.
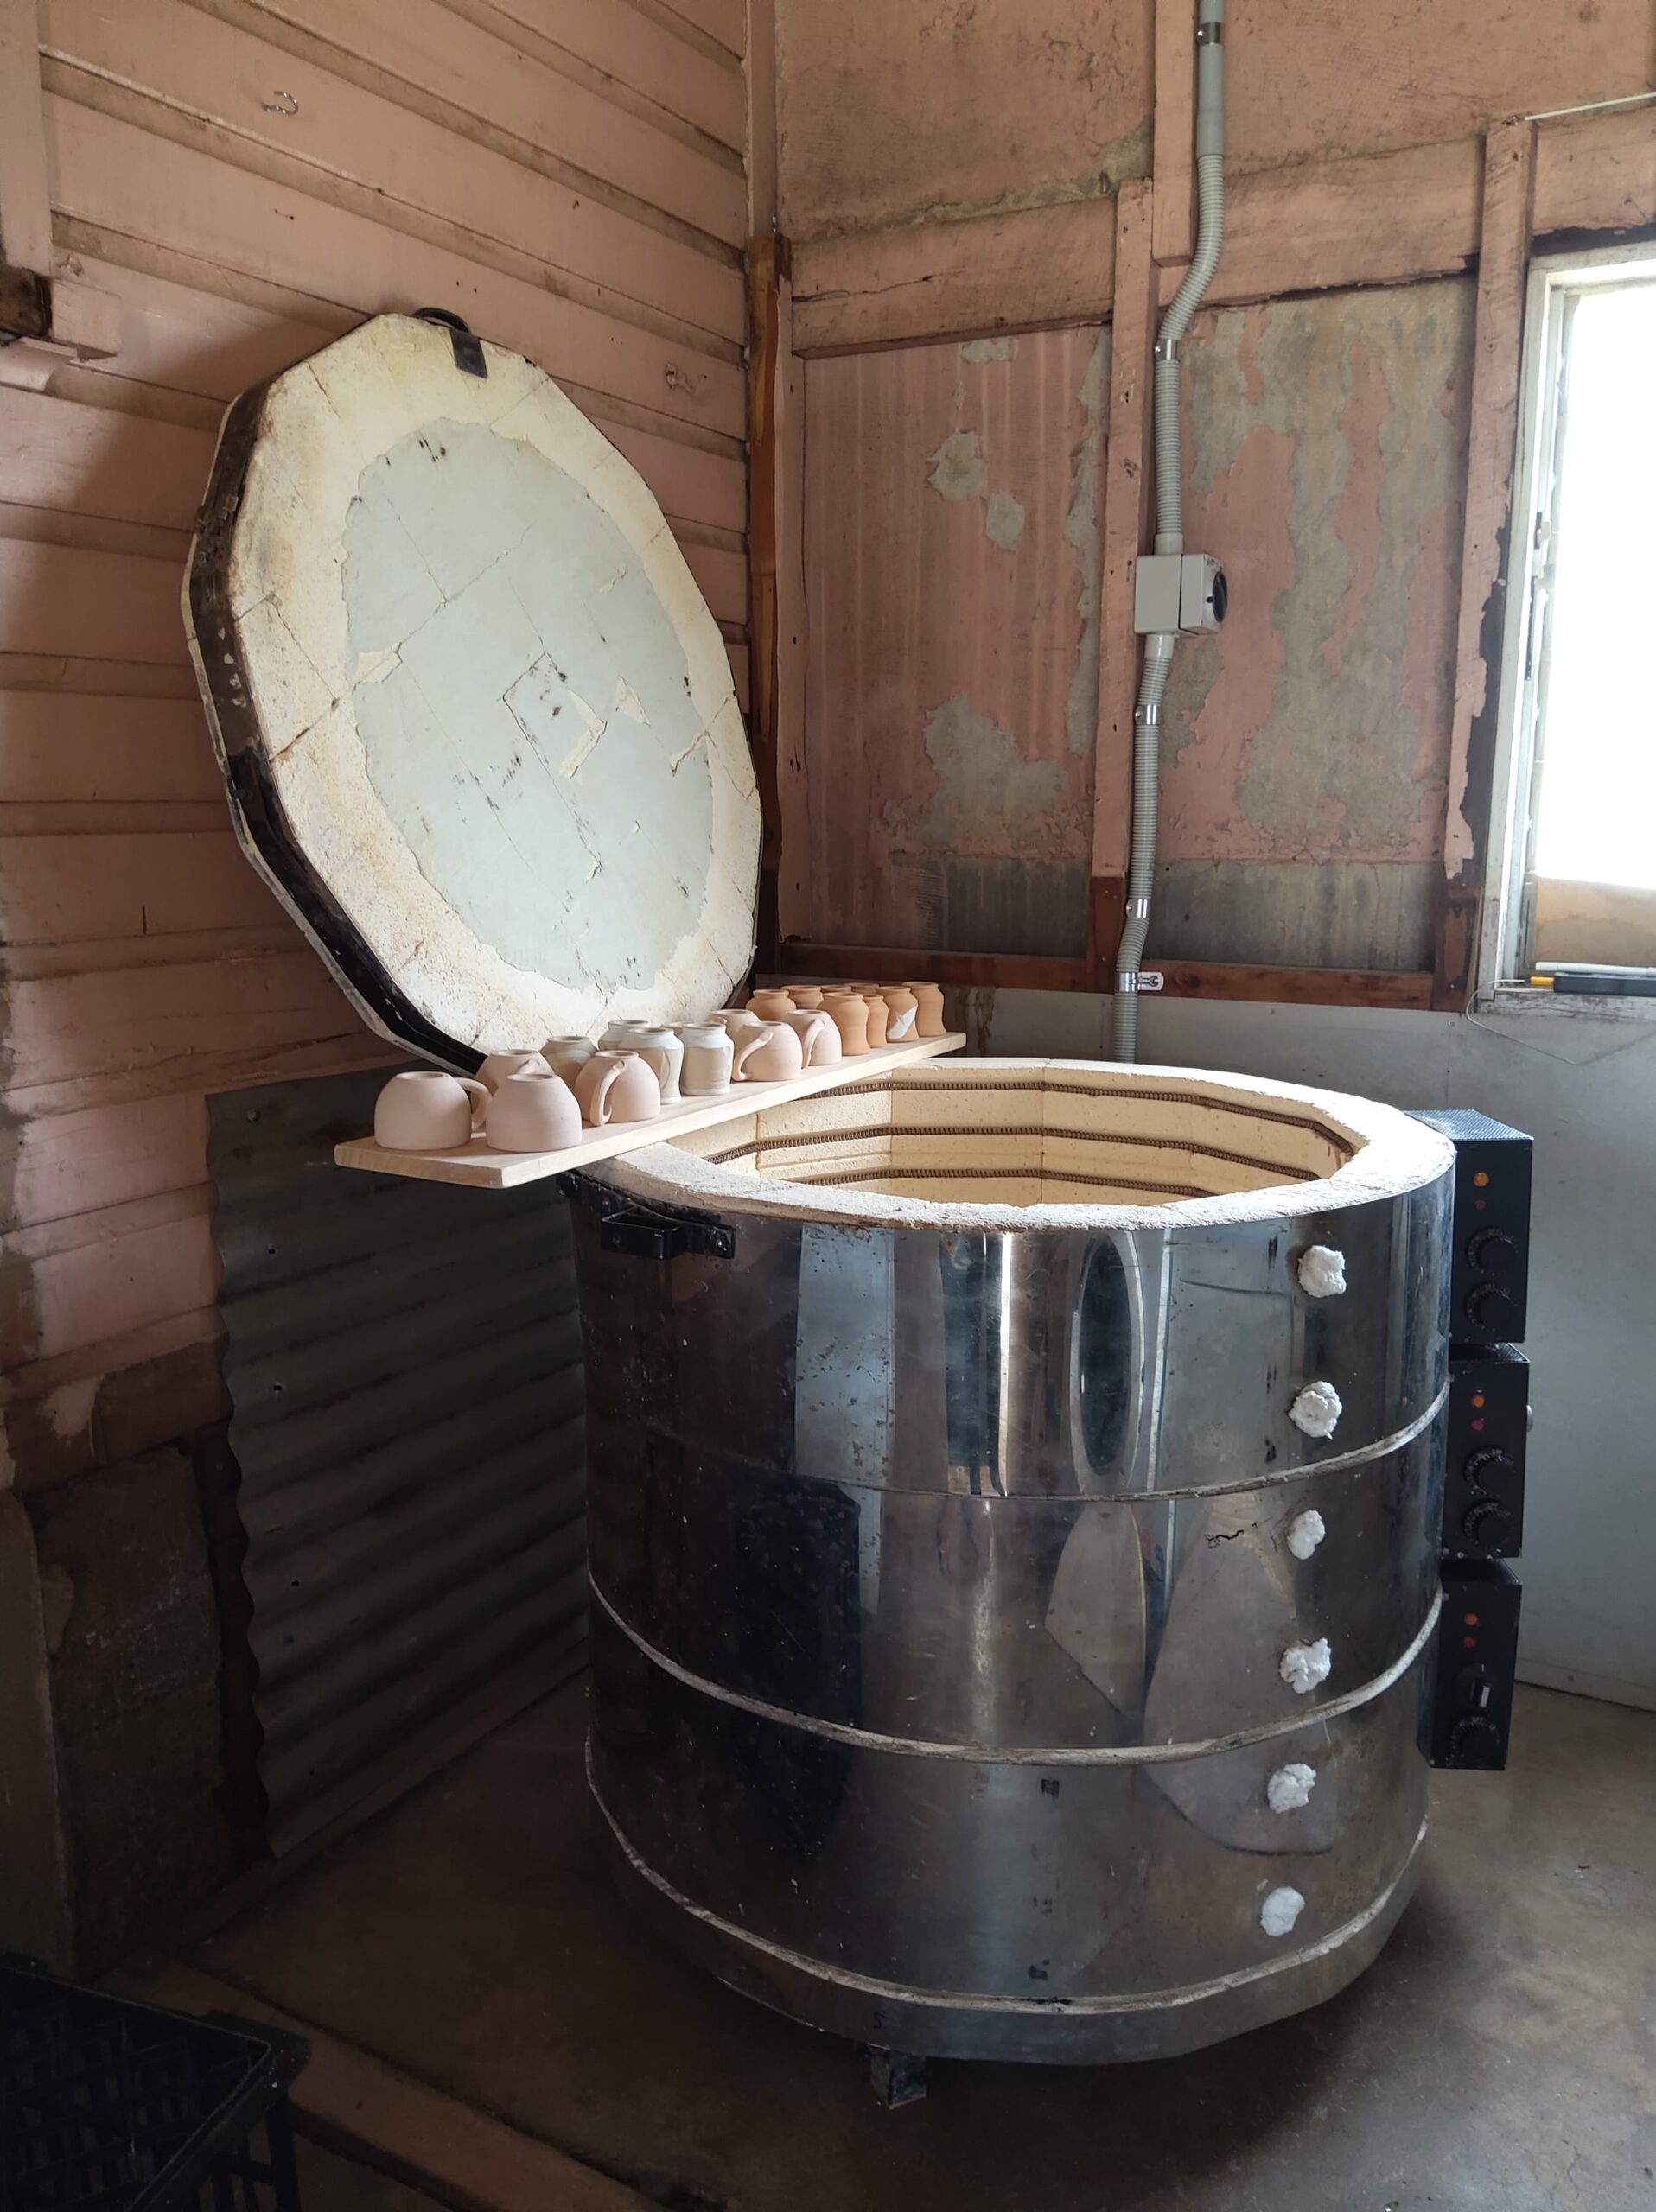
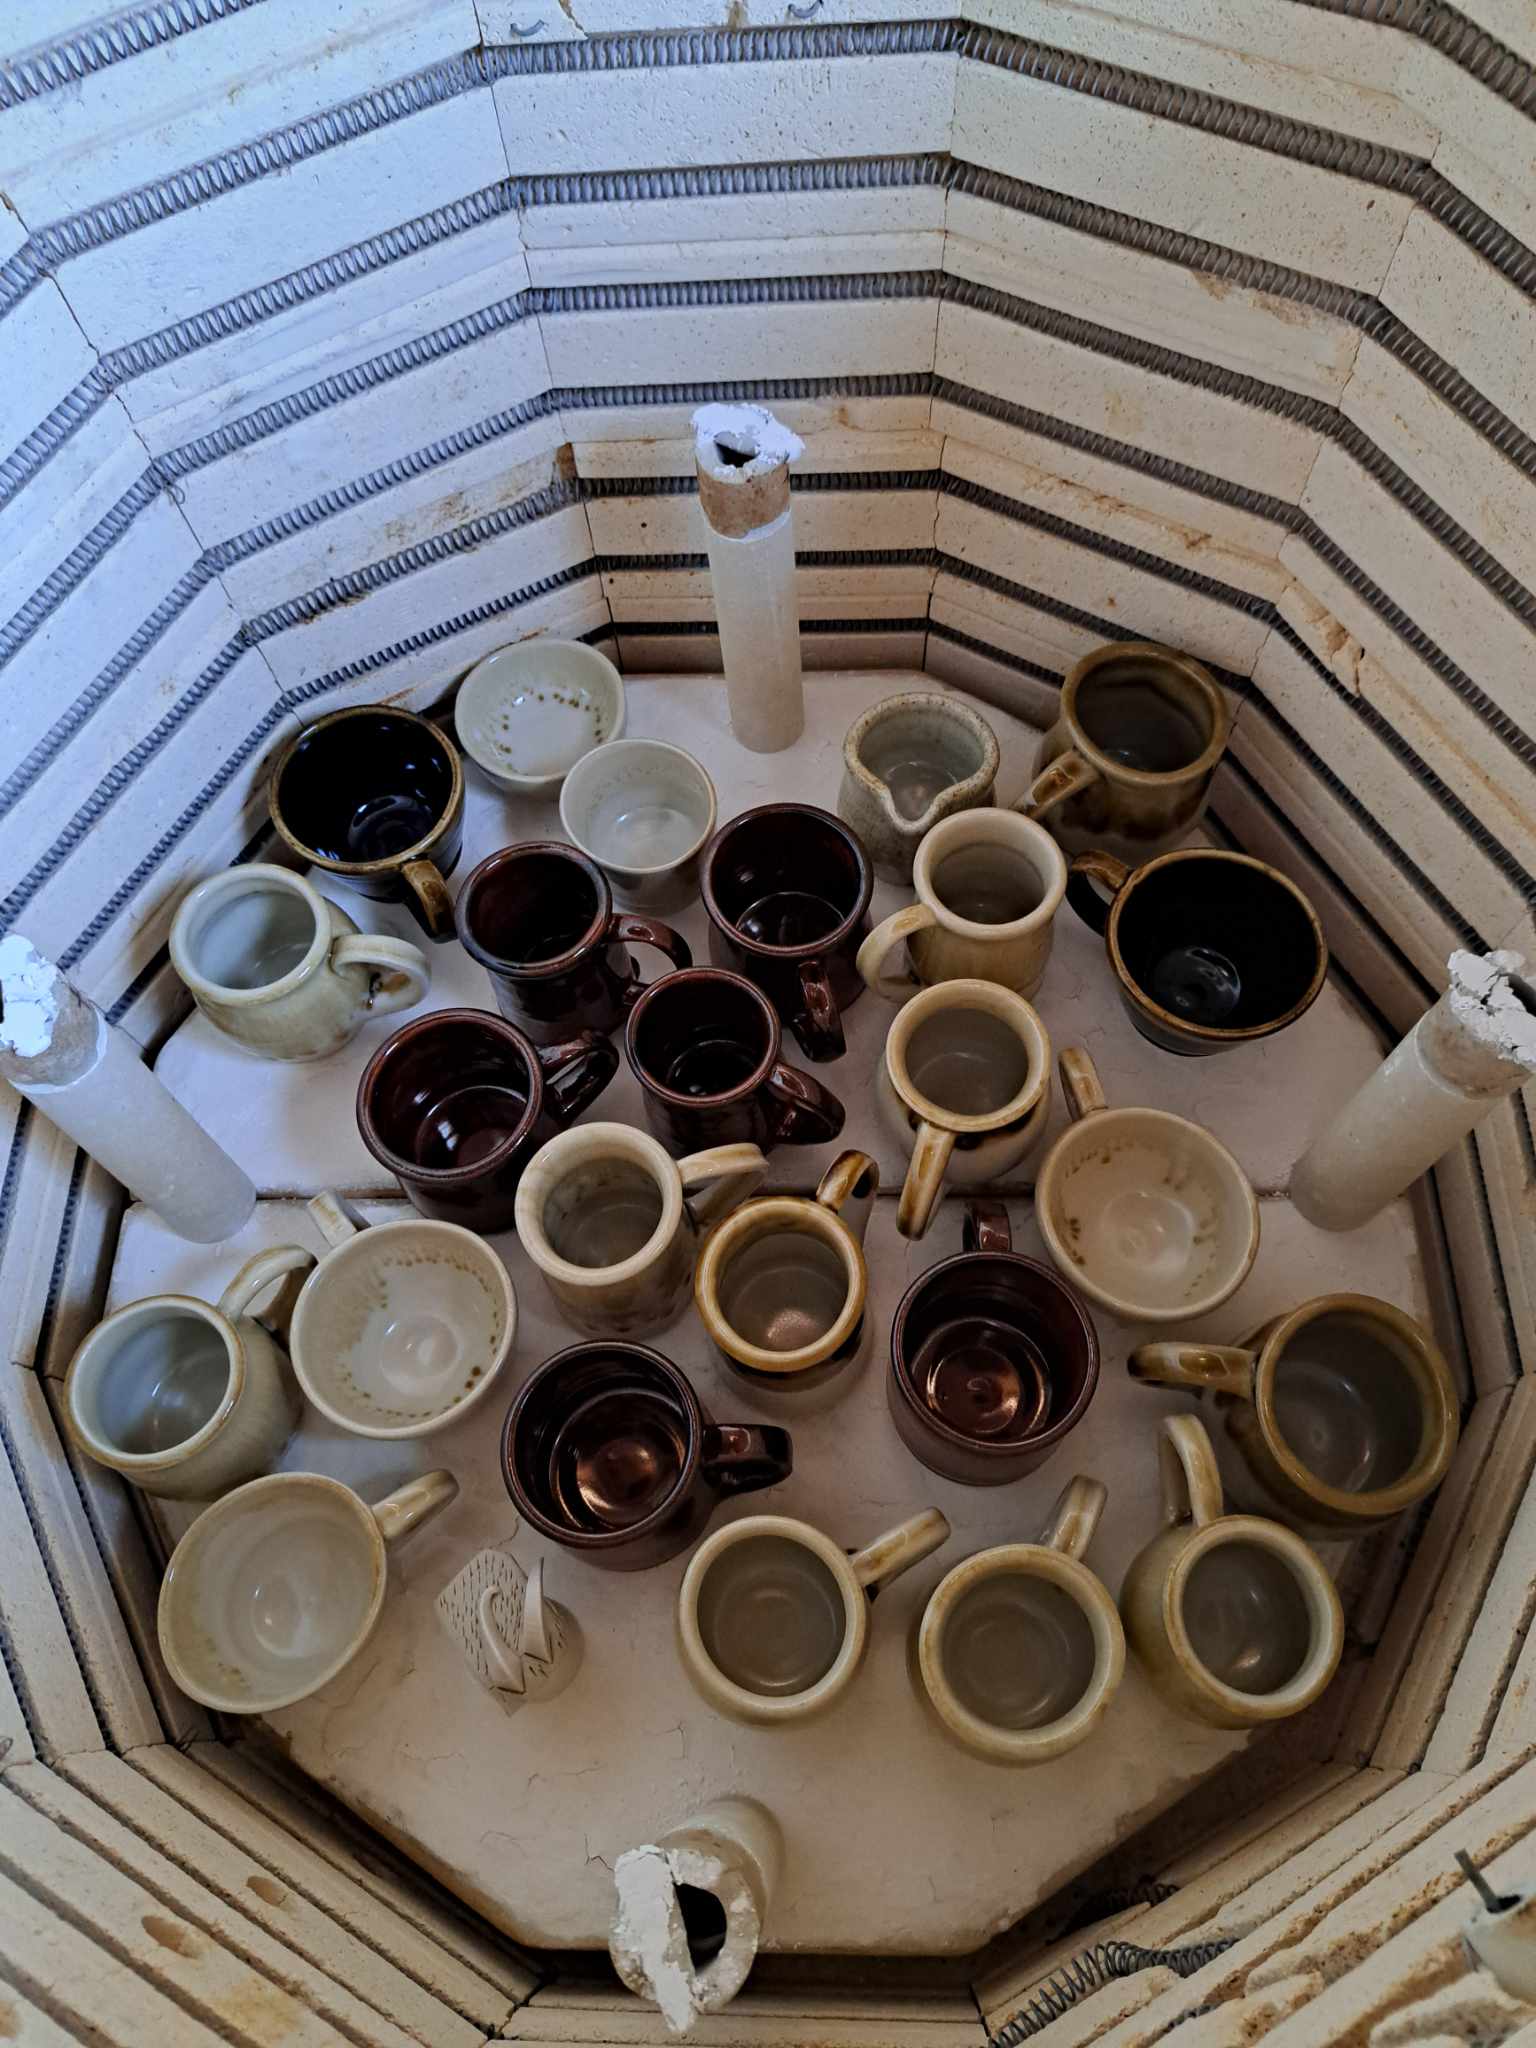
Unloading the biscuit
Cooling in the kiln must be slow as the bisqueware can still crack between the biscuit temperature all the way down to 220 degrees celsius. The kiln is left alone to cool slowly overnight to a day.
Bisqueware is a porous, hardened form of pottery. It is ceramic, now strong enough to be handled and receptive to liquid glaze application. There are many ways to glaze ceramics such as dipping, pouring, brushing, spraying and within these methods there are limitless possibilities of application, technique, style and colour combinations.
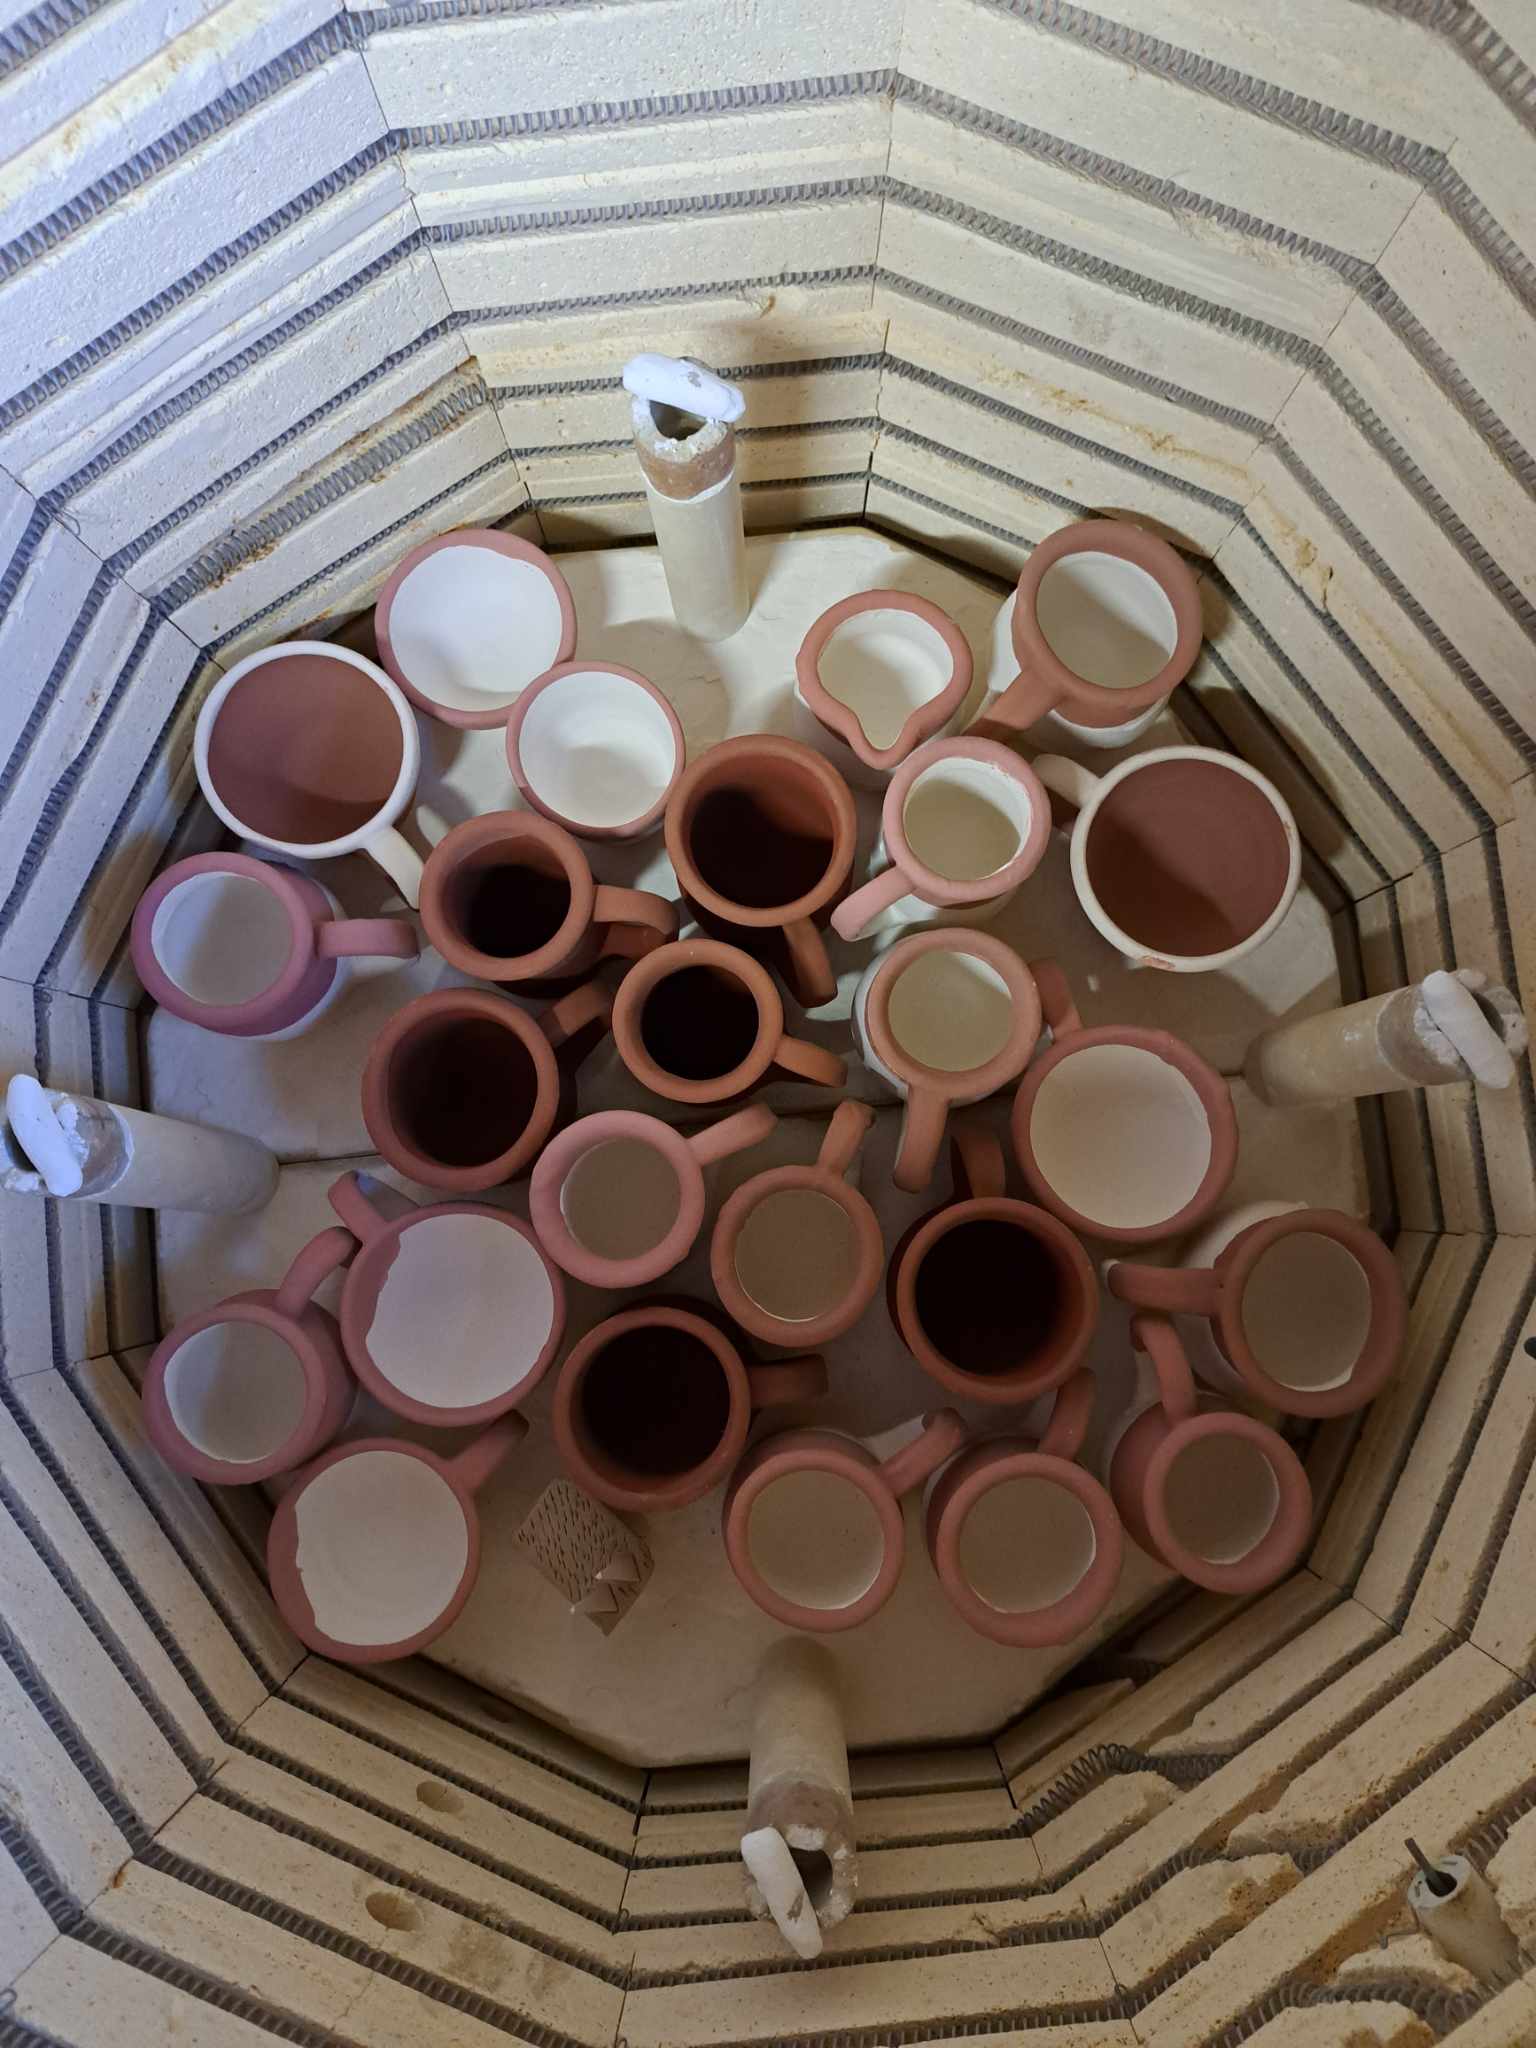
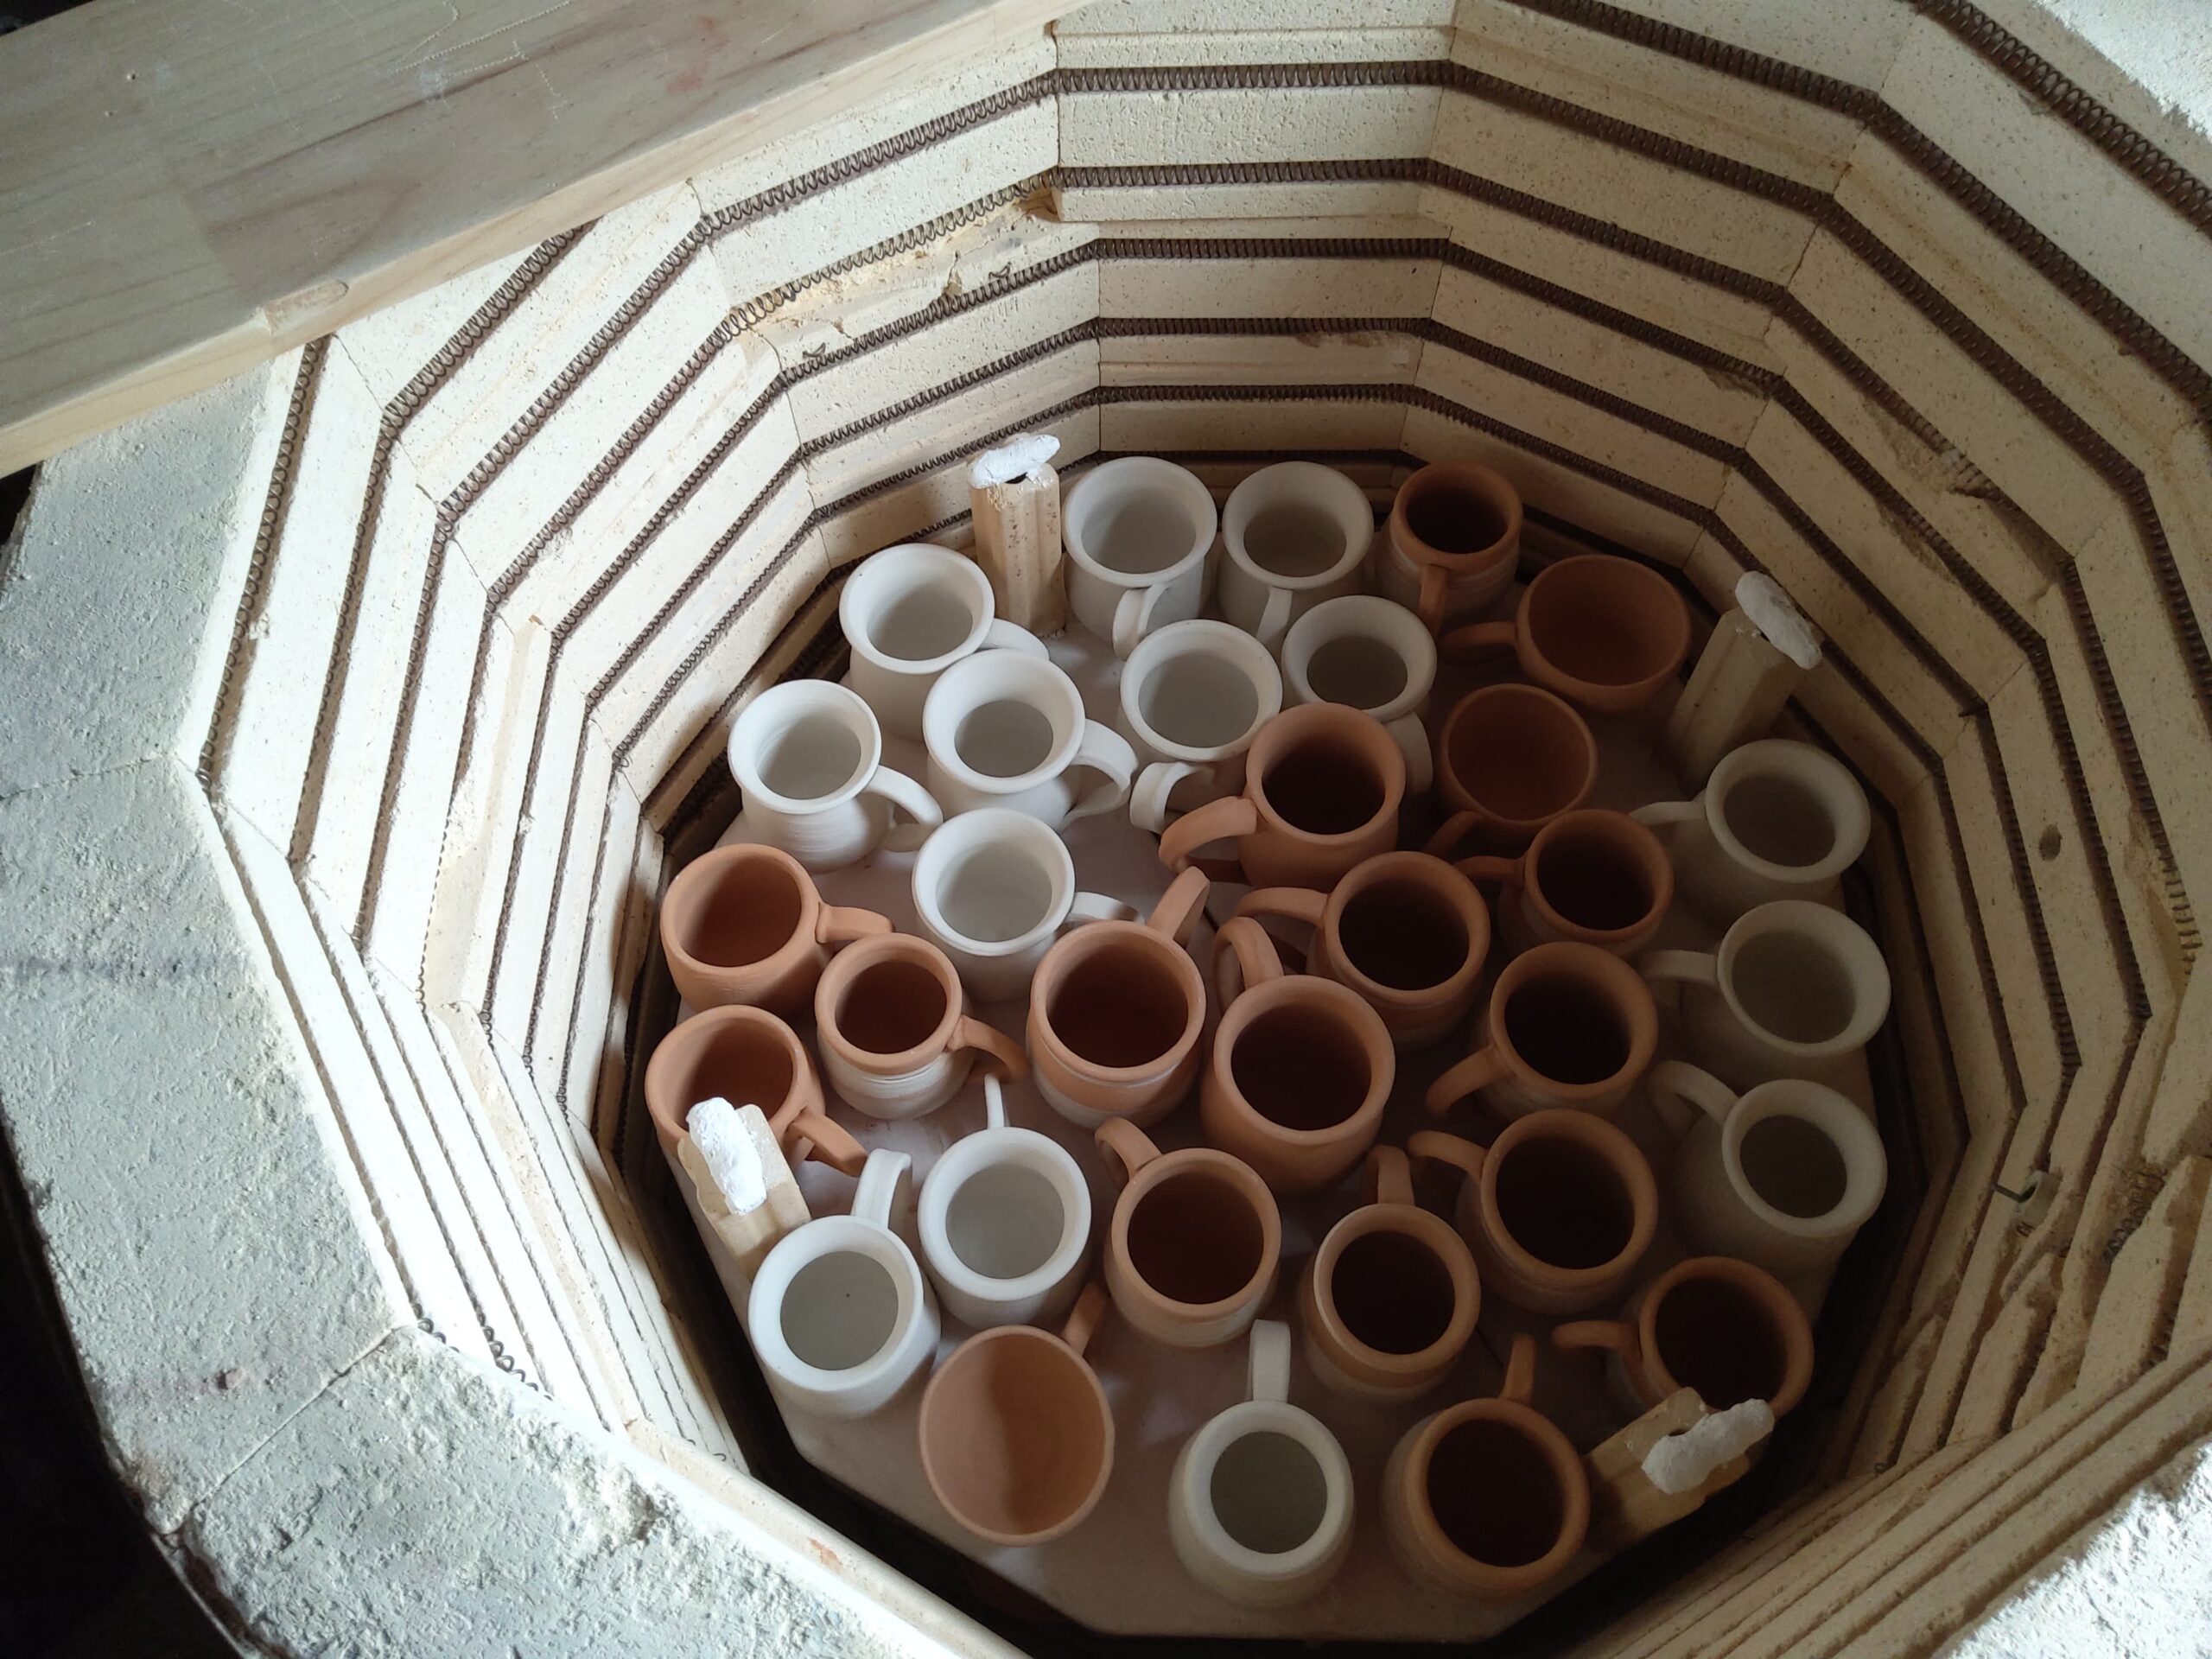
Glazing and loading for the second firing
The second firing is taken up to a temperature required by the glaze in order to mature. Most tableware is fired between Cone 6 and Cone 10 or higher. This can range anywhere from 1140 – 1300 degress celsius or more. This firing can be done quicker as the pieces have already been bisqued.
It is common for glaze firings in electric or gas kilns to take anywhere between 4 – 14 hours. Although there are also many types of wood-fired kilns where the time elapsed can range anywhere from 12 – 240 hours.
Once the top temperature is reached, some glazes require a hold in temperature and/or a slow controlled cooling process to mature the glaze finish. Failure to follow the appropriate cooling cycle can lead to glaze defects and severe imperfections which can ruin an entire kiln load of wares.
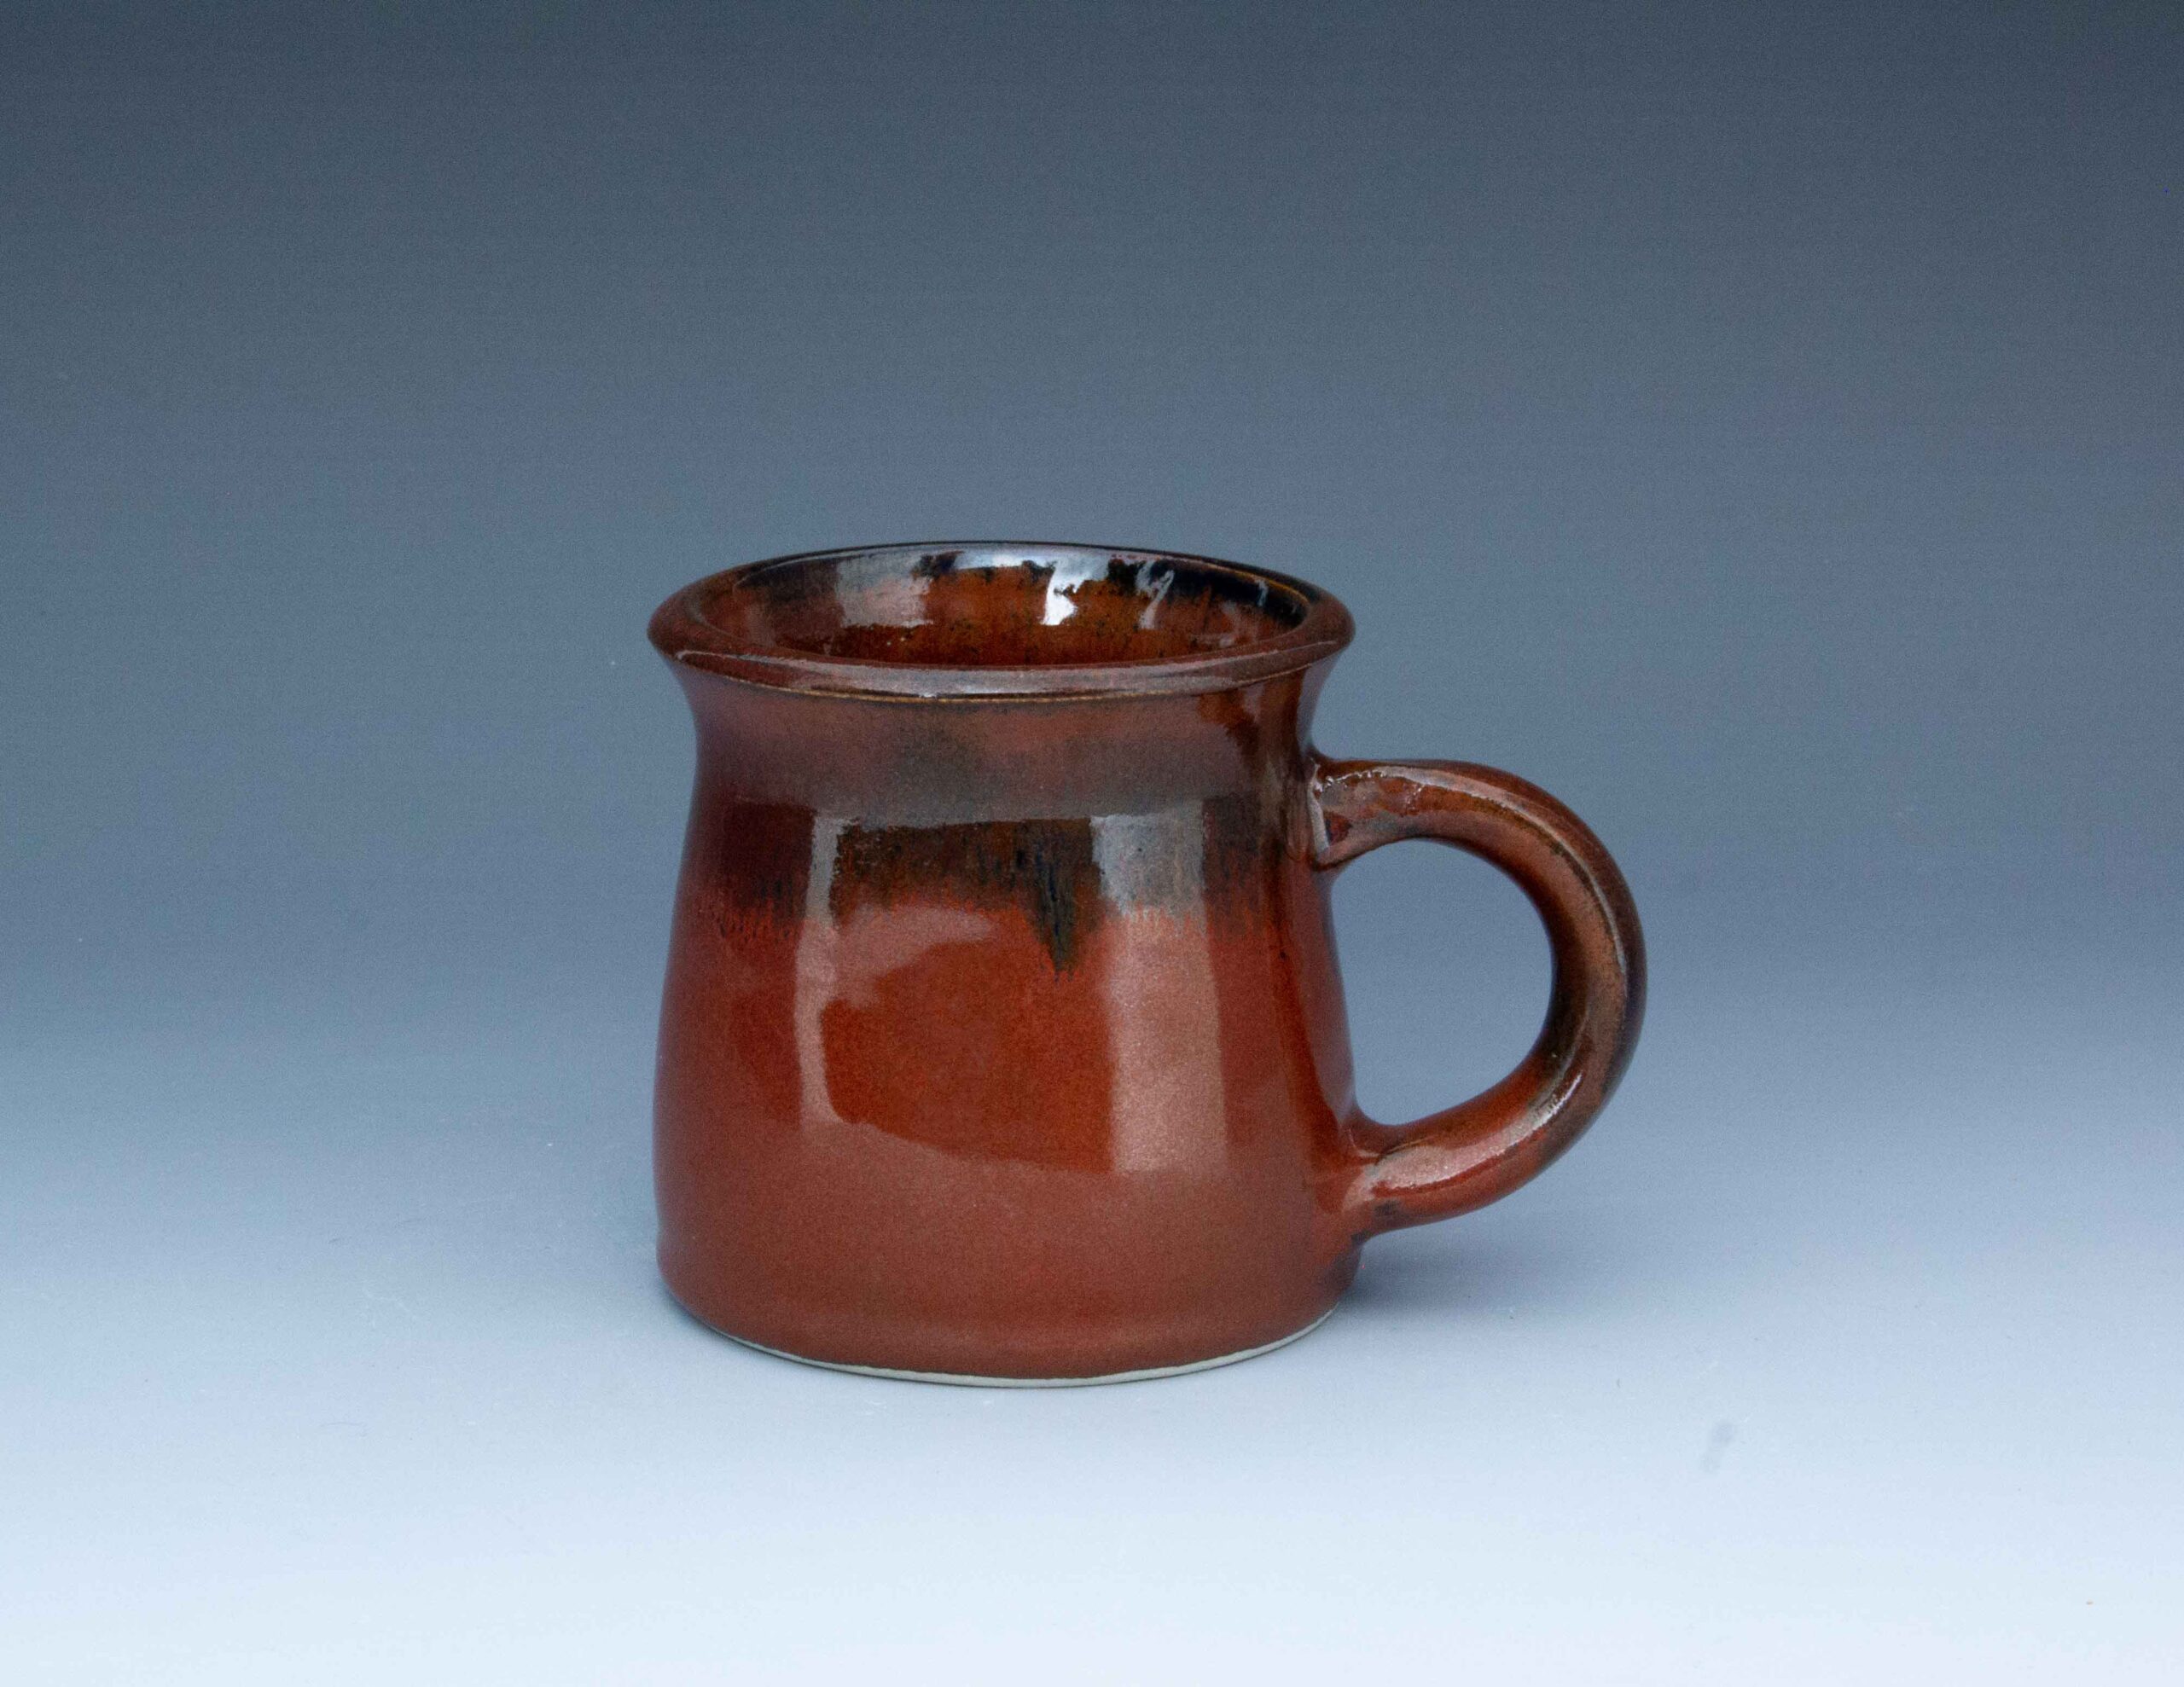
The kiln is opened once cool and the finished pieces are finally revealed. This is always a nervous moment for potters. I like to take photos before I remove pieces from the kiln in order to help diagnose any glaze defects present.
The finished pieces are carefully checked for defects, touched up, sanded, photographed, catalogued and uploaded to the website for sale.
To shop and browse my latest ceramics catalogue, click here